
Choosing and Installing Sod: A Complete How-To Guide for Lasting Lawns
Many homeowners decide to install sod because they want fast, reliable results, but the process can feel confusing when you’re not sure which sod to choose or how to prepare your yard. Without the right information, it’s easy to pick a variety that struggles in Ontario weather or lay sod on soil that isn’t ready, leading to patchy growth, weak rooting, and a lawn that never reaches its full potential.
These challenges become frustrating when you’ve invested time and money expecting an instant transformation. A few overlooked steps can lead to long-term problems, forcing you to re-water, re-repair, or even re-sod sections that didn’t take properly.
This guide solves those problems by walking you through every stage of choosing and installing sod with confidence. You’ll learn which grass varieties thrive in Ontario, how to prepare the soil, how to lay and water sod correctly, how to protect new turf in the first few weeks, and how to catch early warning signs before they turn into setbacks. With the right approach, you’ll create a healthy lawn that stays strong season after season.
What Is the Best Type of Sod for Your Lawn and Climate?

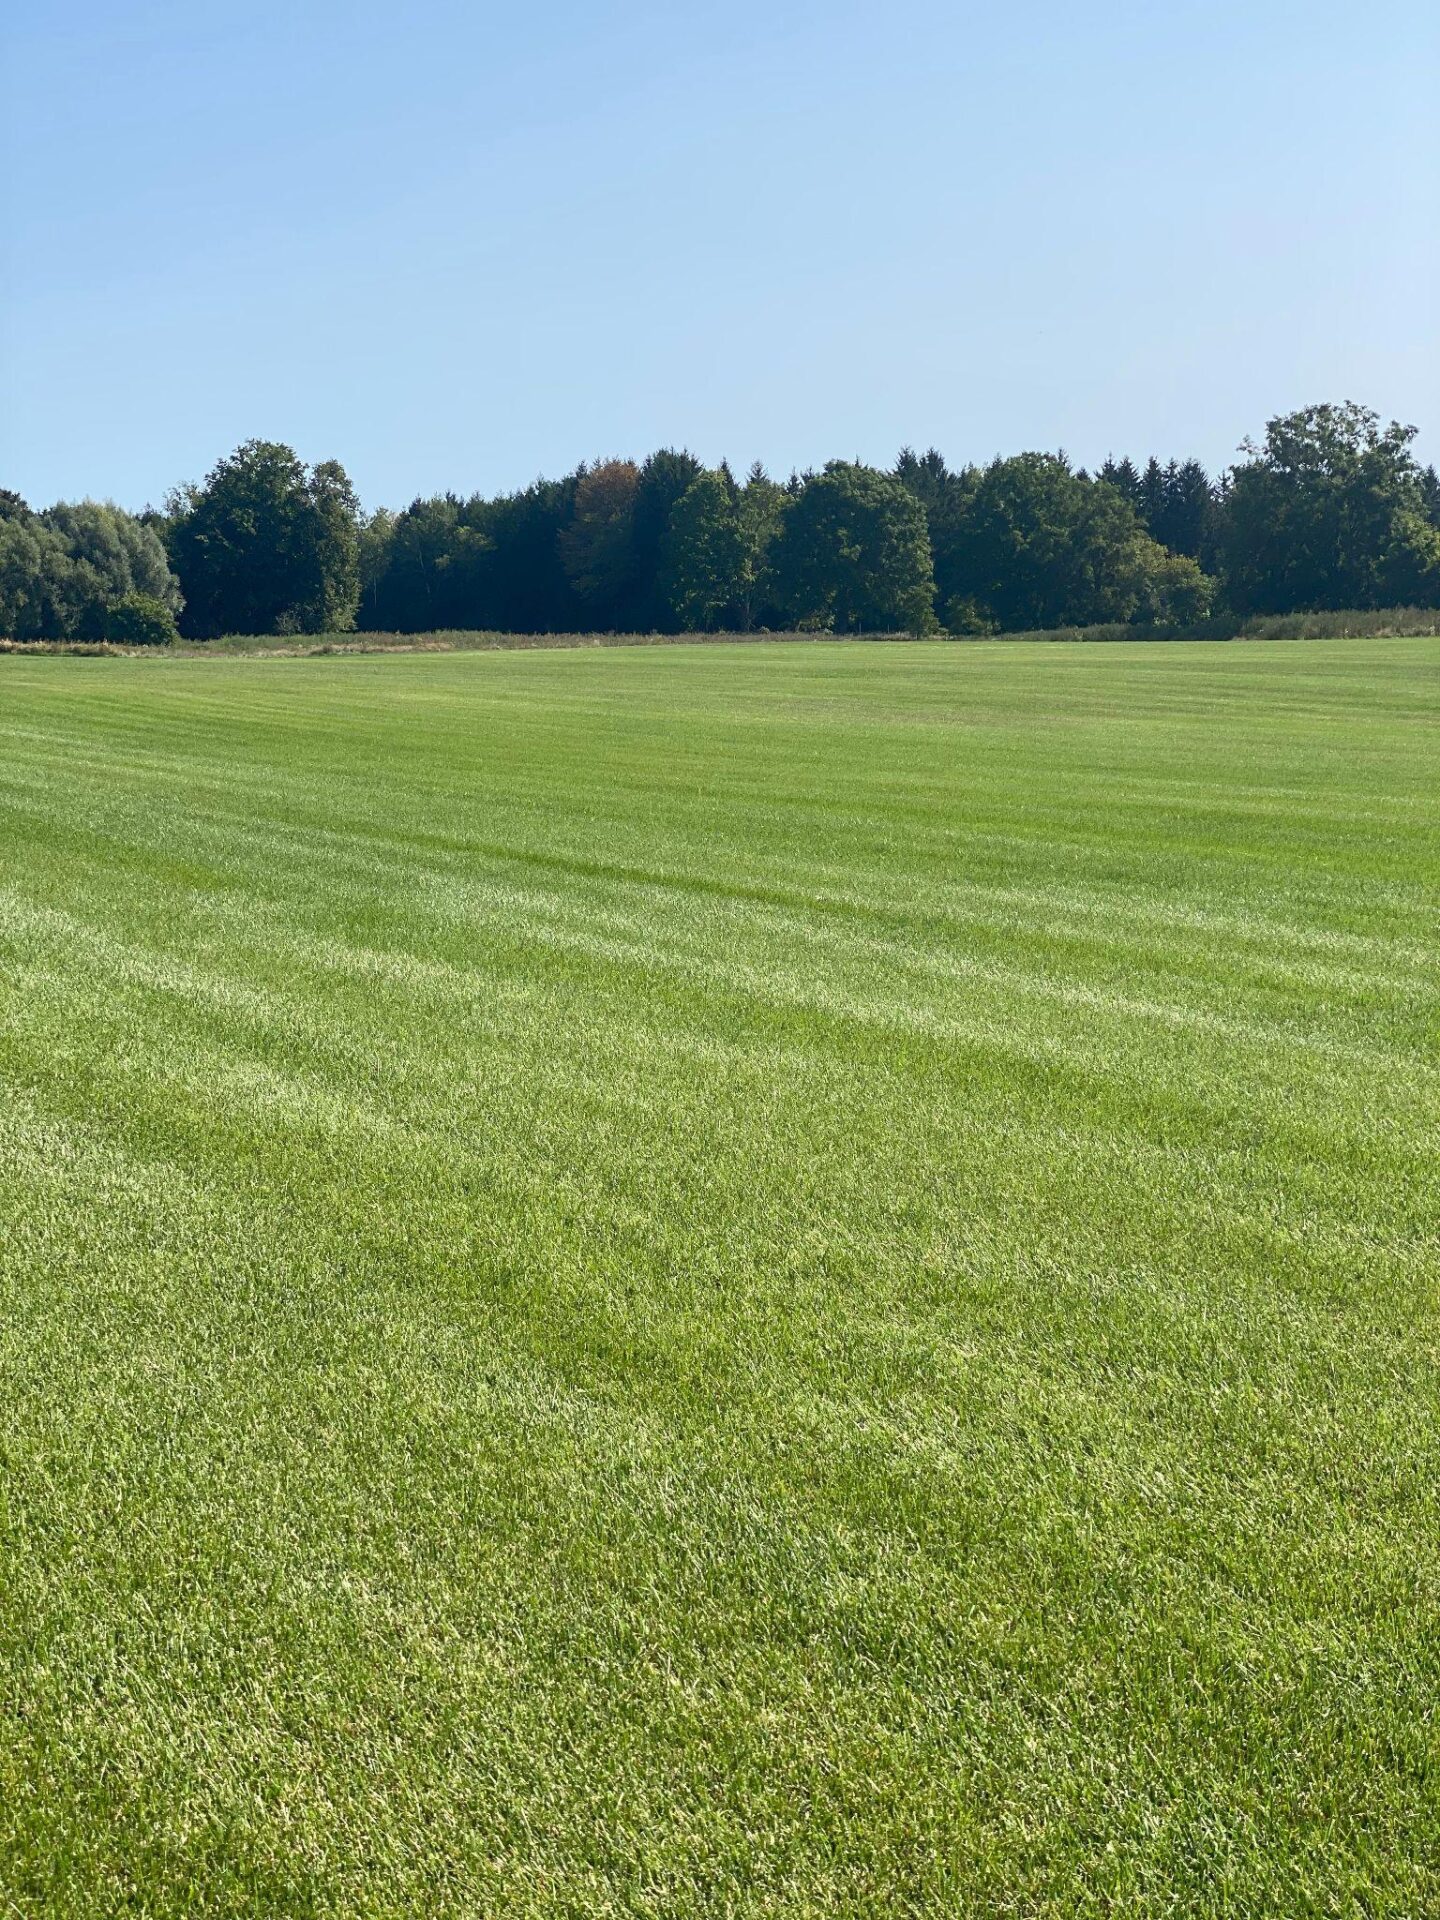
Finding the best type of sod for home lawns in Ontario starts with choosing a grass that can handle the province’s temperature swings, sun exposure, and seasonal stress. Because Ontario experiences warm summers and cold winters, you need a cool-season grass with strong resilience and proven performance. For most homeowners and professional installers in this region, Kentucky Bluegrass is the top choice.
Thrives in Ontario Weather
Kentucky Bluegrass is well adapted to Ontario’s seasonal extremes. It tolerates freezing winters, bounces back after dry periods, and greens up quickly as temperatures moderate. During hot stretches, it may temporarily go dormant, but its strong rhizome system helps it recover once cooler weather returns. This reliable seasonal performance keeps your lawn looking consistent from spring through fall.
Durable and Resilient for Active Lawns
If your yard hosts kids, pets, or regular foot traffic, this grass stands out. Kentucky Bluegrass forms a dense, interlocking root system that spreads underground. Those rhizomes fill thin areas naturally, helping the lawn stay thick even after wear. When installed properly with tight seams and good soil contact, it creates a smooth, durable surface ideal for regular use
Colour and Texture That Stands Out
Homeowners also choose Kentucky Bluegrass for its striking appearance. Its deep blue-green colour and fine-textured blades give lawns a polished, uniform look that pairs well with gardens and landscape features. It’s soft underfoot, appealing for outdoor play and relaxation, and provides the classic, vibrant aesthetic many Ontario homeowners want.
How Should You Prepare Soil for Sod Installation?
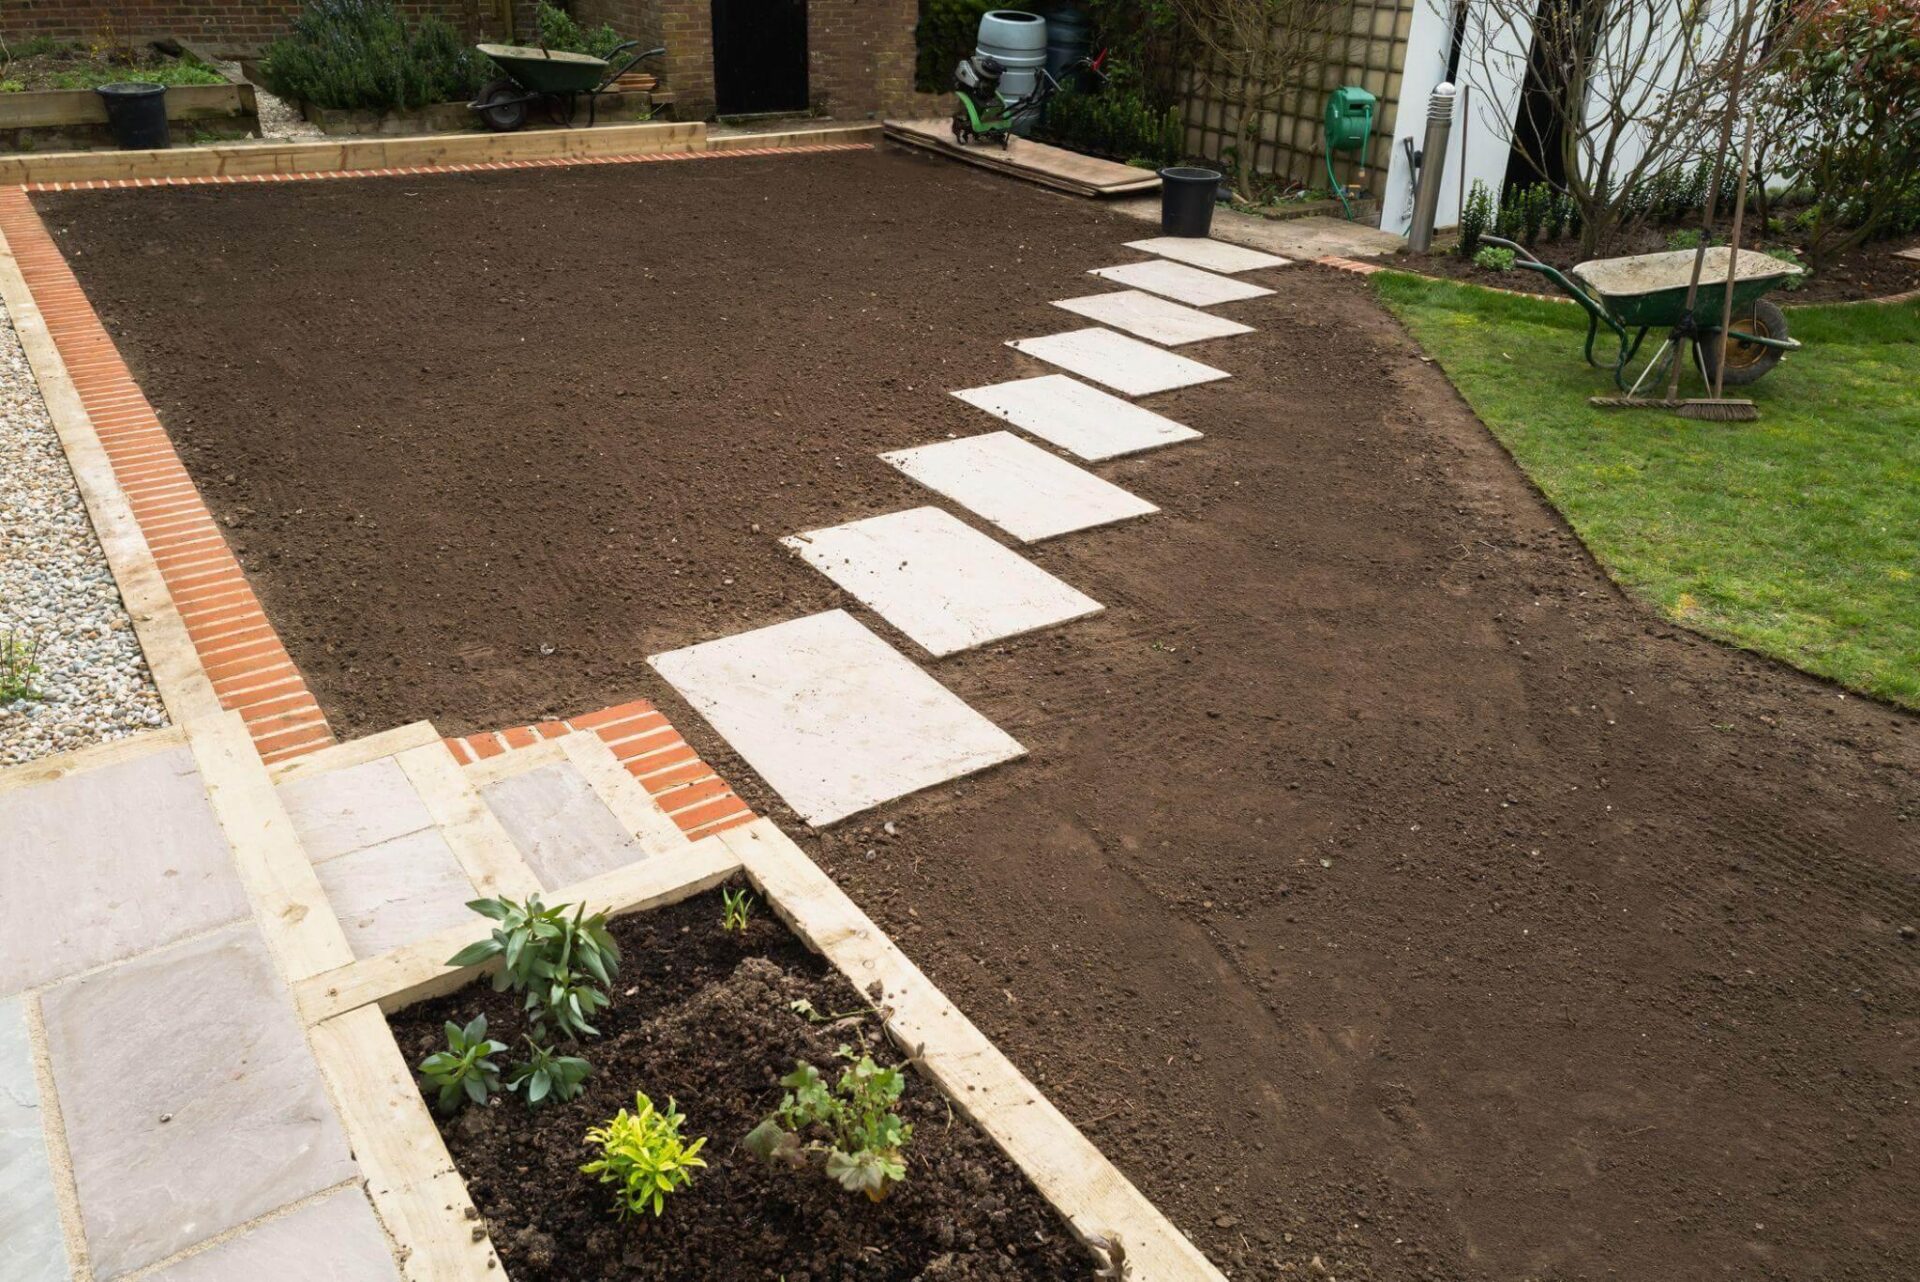
Proper soil preparation is one of the most important steps in creating a lawn that roots quickly and stays healthy long term. Good prep ensures that new sod makes full contact with the soil, absorbs nutrients efficiently, and develops a deep, resilient root system. Follow these key steps before installation:
- Clear the area. Clear away old grass, weeds, and debris. This step is crucial because leftover vegetation can impede root contact and cause uneven growth.
- Loosen and grade the soil. Use a rototiller or spade to loosen the top 4 – 6 inches of soil. This reduces compaction and helps the roots establish. After loosening, rake the surface to create a smooth, level base. A level surface is important when you are thinking about how to install sod because it prevents water pooling and ensures good contact.
- Amend the soil if necessary. If your soil test reveals low fertility or poor structure, add organic matter such as compost and apply a starter fertilizer. These amendments improve water retention and nutrient availability, which are critical for installing sod successfully. However, starter fertilizer won’t be necessary with Fairgreen Sod.
- Water lightly before laying. Just before you place the sod, lightly moisten the soil. It should be damp but not muddy. This helps the roots bond quickly without creating a mess. Remember, soil preparation for sod installation is one of the most important steps for a thriving lawn.
For more in-depth guidance, check out our Soil Preparation Guide.
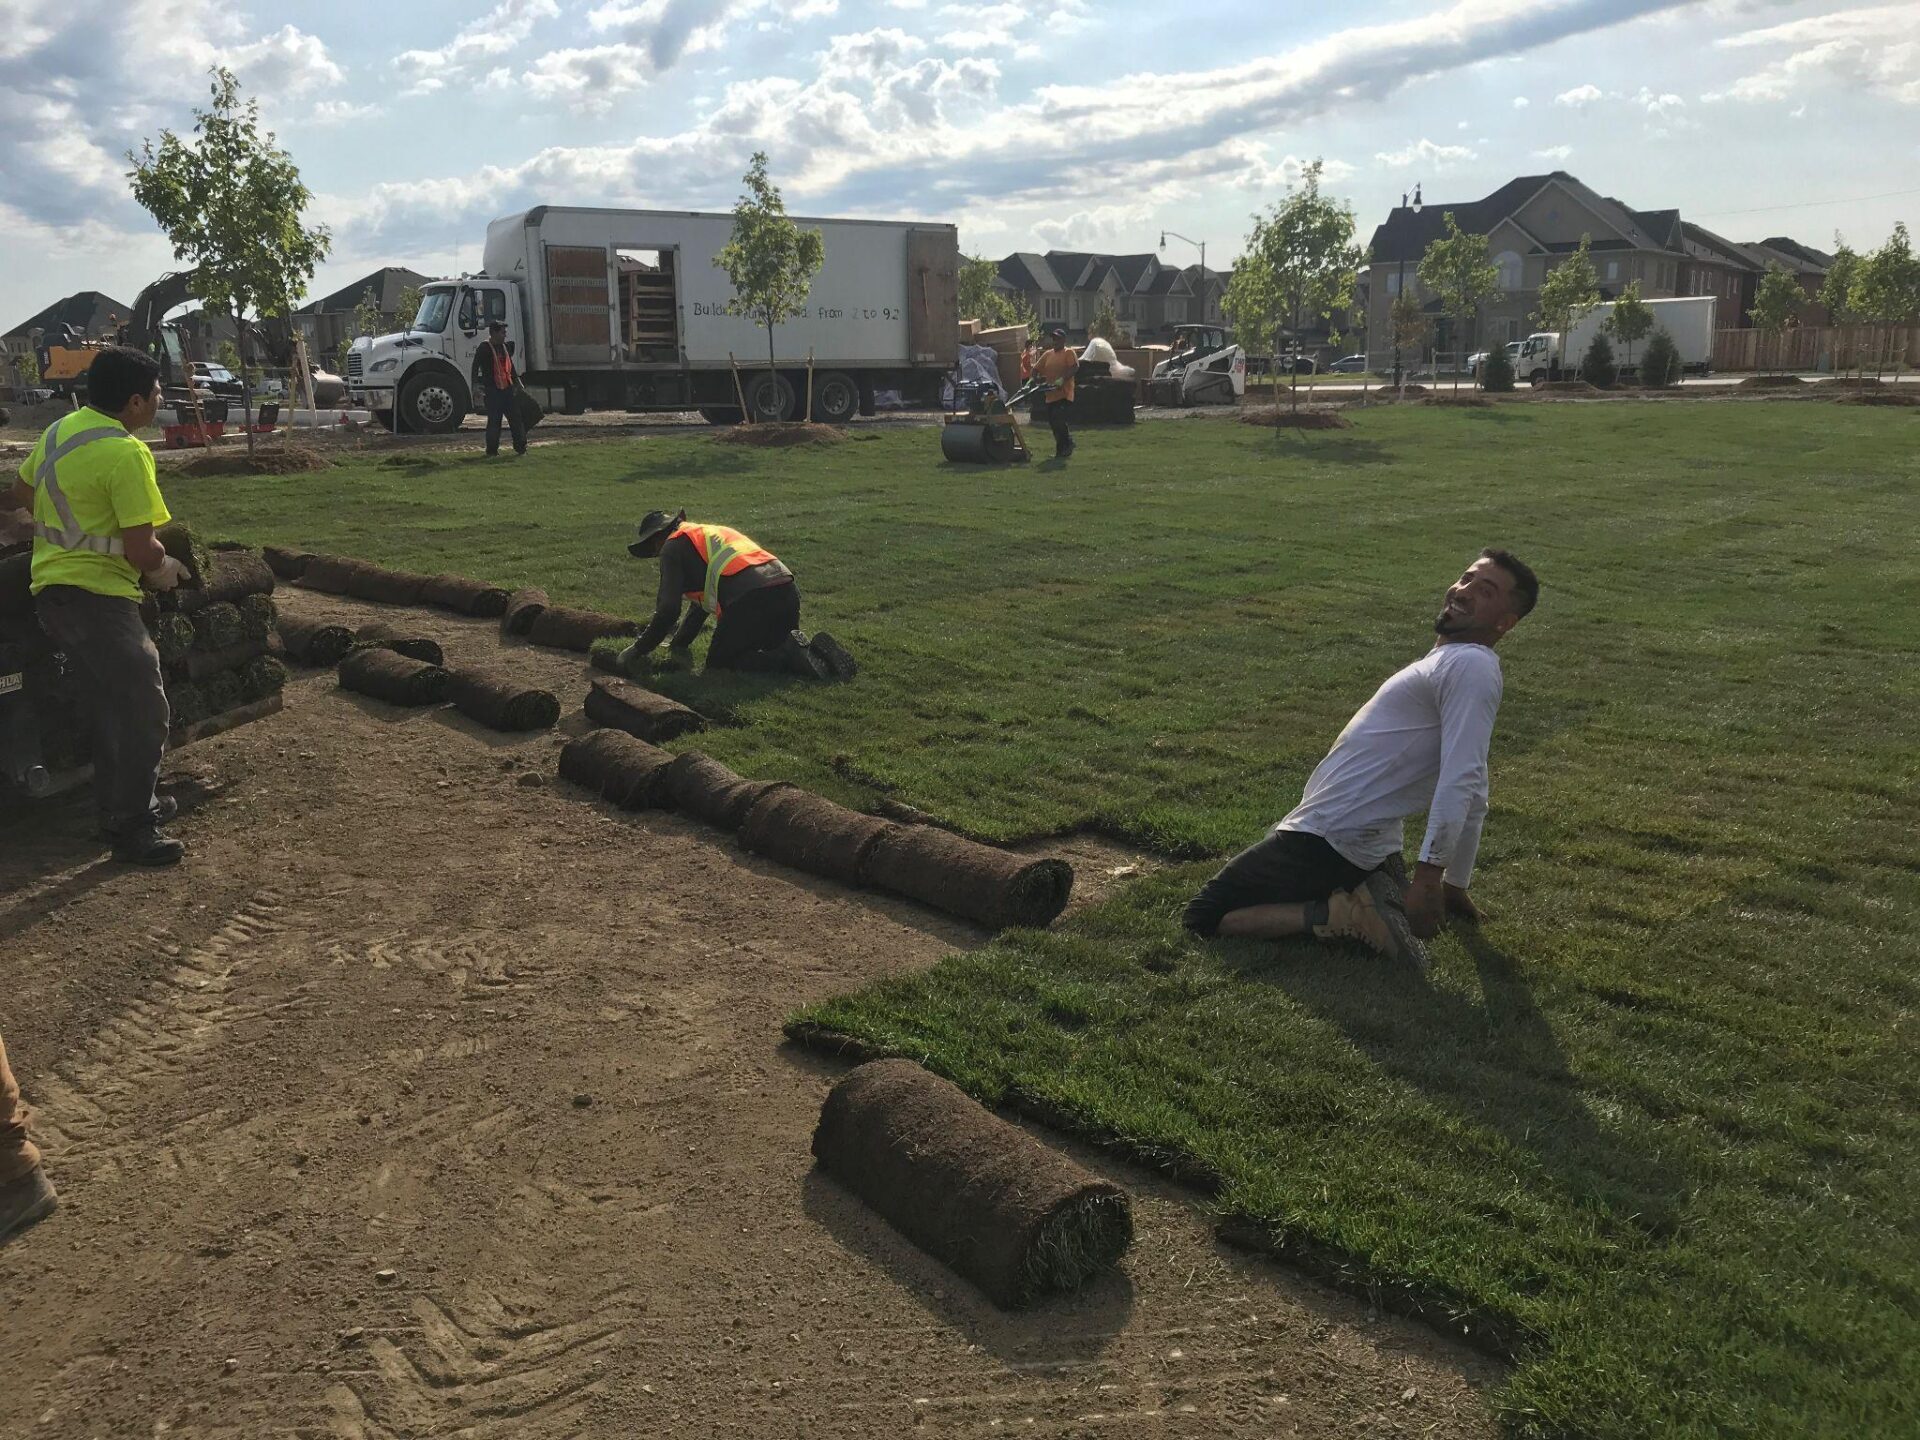
How Do You Lay Sod Rolls for Optimal Root Contact?
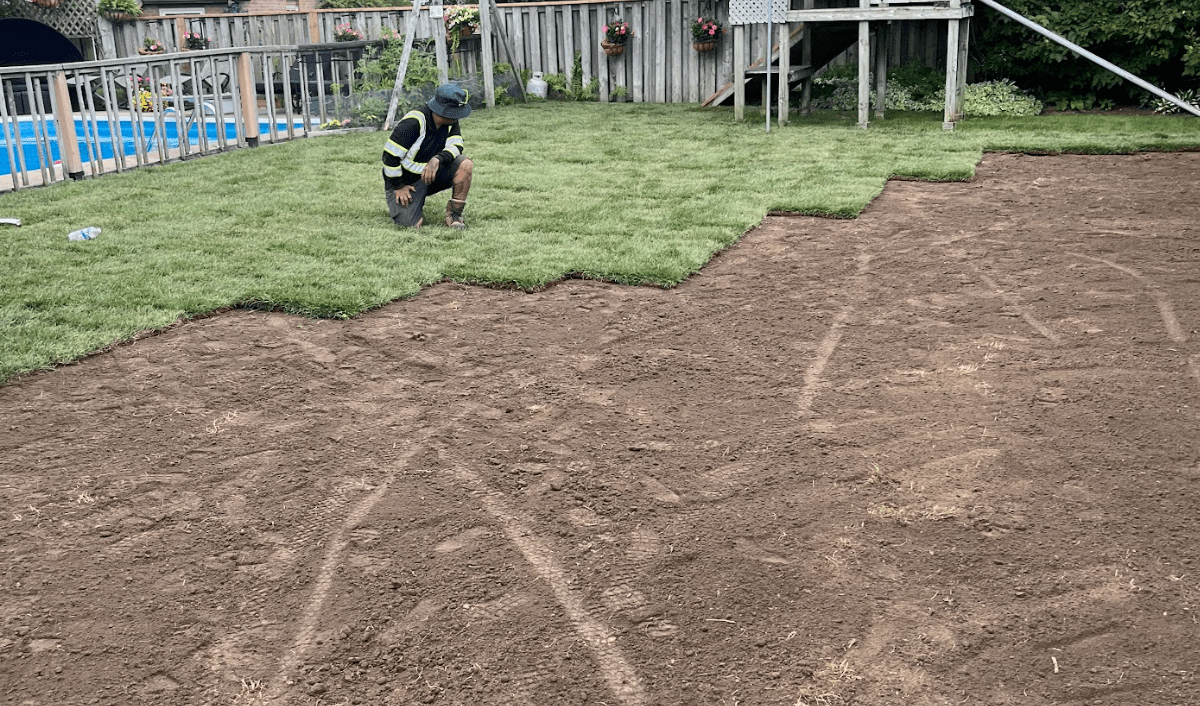
Proper installation is essential for helping new sod root quickly and evenly. Fresh sod deteriorates if left on pallets too long, so schedule delivery only when the soil is fully prepared. Plan to begin laying the rolls within a few hours of arrival.
Start Along a Straight Edge
Begin by laying your first row along a straight edge such as a driveway, walkway, or fence line. Roll out the first strip and press it gently into place, ensuring there are no wrinkles or gaps. Butt each end tightly against the previous piece, but avoid stretching or overlapping the sod.
Ensure Consistent Soil Contact
After placing each row, press the sod firmly into the soil using your hands, a flat shovel, or by gently patting it down. This removes air pockets and helps the roots bond with the surface below. As you continue, stagger the joints in a brick-like pattern. This layout prevents long seams, reduces erosion risk, and promotes even moisture distribution.
Make Clean, Accurate Cuts
Use a sharp knife to trim around curves, beds, and walkways. Accurate cuts help each piece fit snugly without leaving gaps that can dry out or allow weeds to take hold. Place smaller pieces toward the center of the lawn where they are less exposed to heat and foot traffic.
Protect the Sod as You Work
Avoid stepping directly on newly laid sod. Instead, stand on plywood or on the bare soil to distribute weight evenly and prevent shifting or compressing seams. Continue checking that edges fit tightly together and adjust any lifted areas immediately.
These careful installation habits create strong root contact and set the stage for a smooth, healthy lawn.
Why Should You Stagger Seams and Avoid Gaps in Sod?
Staggering seams and eliminating gaps are key to creating a smooth, durable lawn. Proper alignment prevents weak points where weeds can take hold, reduces the risk of soil erosion, and ensures even moisture distribution across the surface.
- Offset seams by half. When starting a new row, cut a sod piece in half and use it as the first strip. This ensures that seams never line up directly with those in the previous row.
- Trim for irregular areas. For curves, corners, or obstacles, use a sharp knife to cut sod pieces so they fit snugly. Do not tear the sod, as ragged edges make it harder to achieve good root contact.
- Avoid stretching the sod. Stretching can thin the turf and create bald spots. Lay each piece flat and allow its natural elasticity to help it settle. If a piece seems too large, trim it rather than pulling on it.
Proper seam staggering and gap avoidance not only make your lawn look seamless but also contribute to the long‑term health of your grass.
How Do You Roll Sod and Water It After Installation?

After laying the sod, rolling and watering are essential to ensure firm contact between the sod and soil. Knowing how to roll sod for installation and how to water the lawn correctly are core parts of learning how to install sod. Use these guidelines:
- Roll the entire surface once*. Use a lawn roller filled halfway with water and roll over the entire lawn in one direction. This removes air pockets, presses the sod firmly into the soil, and promotes uniform root contact. Rolling also smooths minor bumps created during installation.
- Water immediately after rolling. Water the entire lawn within 30 minutes of finishing the roll. Aim for about 1 – 2 inches of water, enough to penetrate through the sod into the soil below. This first deep watering jump-starts root growth and is central to successfully installing sod.
- Follow a consistent schedule. During the first week, water lightly two to three times each day to keep the sod moist. In the second week, reduce watering to once per day. By the third week, switch to every other day. Adjust according to rainfall and temperature, always checking the moisture level about an inch below the surface. Learning how to install sod also means learning how to roll sod for installation and how to water so your lawn grows strong.
- Avoid overwatering. Too much water can drown the roots and encourage disease. If the ground feels squishy or you see standing water, cut back. Consistent but moderate watering helps create deep roots and prevents shallow growth.
*Note that while rolling can help, it’s not necessary so long as you follow the correct watering steps, so don’t worry if you don’t have access to a roller.
How Do You Check Root Contact With Soil and Ensure Sod Establishment?
In the first few weeks after installation, it’s normal to wonder whether the sod is rooting properly. A simple inspection can help you gauge progress and identify areas that need attention.
Check for Early Rooting
Gently lift a corner of a sod piece.
- If it lifts easily, the roots are not yet established.
- If you feel resistance, the roots have begun to anchor into the soil.
Test several locations across the yard, as different areas may root at different rates. Use only light pressure, your goal is to check for resistance, not to pull pieces loose.
Understand the Rooting Timeline
Most sod starts forming new roots within 10–14 days, although complete establishment can take four to six weeks. During this period, continue following your watering schedule and avoid heavy foot traffic.
Delay mowing until the grass reaches at least three inches in height and resists lifting when you tug gently on a corner. When mowing, use a high blade setting and remove no more than one-third of the grass height at a time.
Address Areas That Aren’t Rooting
If certain sections are not anchoring:
- Check for dry spots that may have been missed during watering.
- Confirm the soil was moistened before installation.
- Lift the affected area and remove any rocks, debris, or obstructions that may be blocking root penetration.
- Press the sod back into place and ensure it has firm soil contact.
Monitoring early establishment and making small adjustments ensures your new lawn develops strong, even roots across the entire area.
How Do You Protect New Sod During the First Weeks?
New sod is especially vulnerable during its initial rooting period. Protecting it from stress, damage, and unnecessary wear helps ensure that the roots establish evenly and the lawn grows into a healthy, uniform surface. Here are key strategies to protect your investment:
- Limit foot traffic. Avoid walking, playing, or placing furniture on the new lawn for the first two to three weeks. Foot traffic can shift sod pieces and damage young roots.
- Wait to mow. Do not mow until the grass reaches about 3 inches in height, and ensure the roots are firmly anchored. Use a high mower setting to avoid scalping the new sod. Mowing too soon can pull up the sod and undo much of your work.
- Monitor weeds. While high‑quality sod has few weeds, seeds from surrounding soil can germinate. Remove any weeds by hand to prevent them from taking over. Avoid chemical weed killers until the lawn is well established.
- Keep pets off. Limit pet access during the initial rooting period. Pet urine can burn tender grass, and digging can disrupt new pieces. Creating a temporary barrier or using a designated area during this time is wise.
These protective measures ensure that your sod installation remains successful long after the initial work is done.
What Are Early Signs of Trouble in New Sod and How Do You Address Them?

Even with careful installation, new sod can show signs of stress. Catching problems early helps you correct them before they develop into larger issues. Here are the most common warning signs and how to address them.
Spongy or Soggy Soil
If the lawn feels soft, spongy, or waterlogged, overwatering is the likely cause. Saturated soil can suffocate roots and invite disease.
How to fix it:
- Reduce watering immediately.
- Allow the soil to dry slightly before the next irrigation.
- Lift a corner to check for signs of root rot.
- Improve drainage if the area chronically holds water.
Yellowing or Wilting Grass
Yellow or brown patches can indicate either under- or overwatering.
How to diagnose it:
- If the grass is yellow and the soil feels dry, increase watering gradually.
- If the grass is yellow and the soil is soggy, cut back on irrigation and allow the surface to dry.
- Once established, consider aerating if drainage is poor.
Lifting Edges or Widening Seams
If edges lift or seams widen, the sod may not be making proper soil contact.
How to fix it:
- Press lifted areas firmly back into place.
- Ensure watering has been consistent.
- Add a little soil to small gaps to discourage weeds.
- Confirm that rolling was done properly at installation.
Patchiness or Uneven Growth
Uneven growth often stems from inconsistent watering, soil compaction, or insufficient soil preparation.
How to fix it:
- Aerate compacted spots once the sod is rooted.
- Adjust your watering pattern to improve coverage.
- Remove any underlying debris if rooting is blocked.
- Over time, Kentucky Bluegrass will naturally spread to fill thin areas when the lawn is maintained consistently.
By identifying these issues early and taking corrective action, you help your lawn establish evenly and stay healthy throughout the first season.
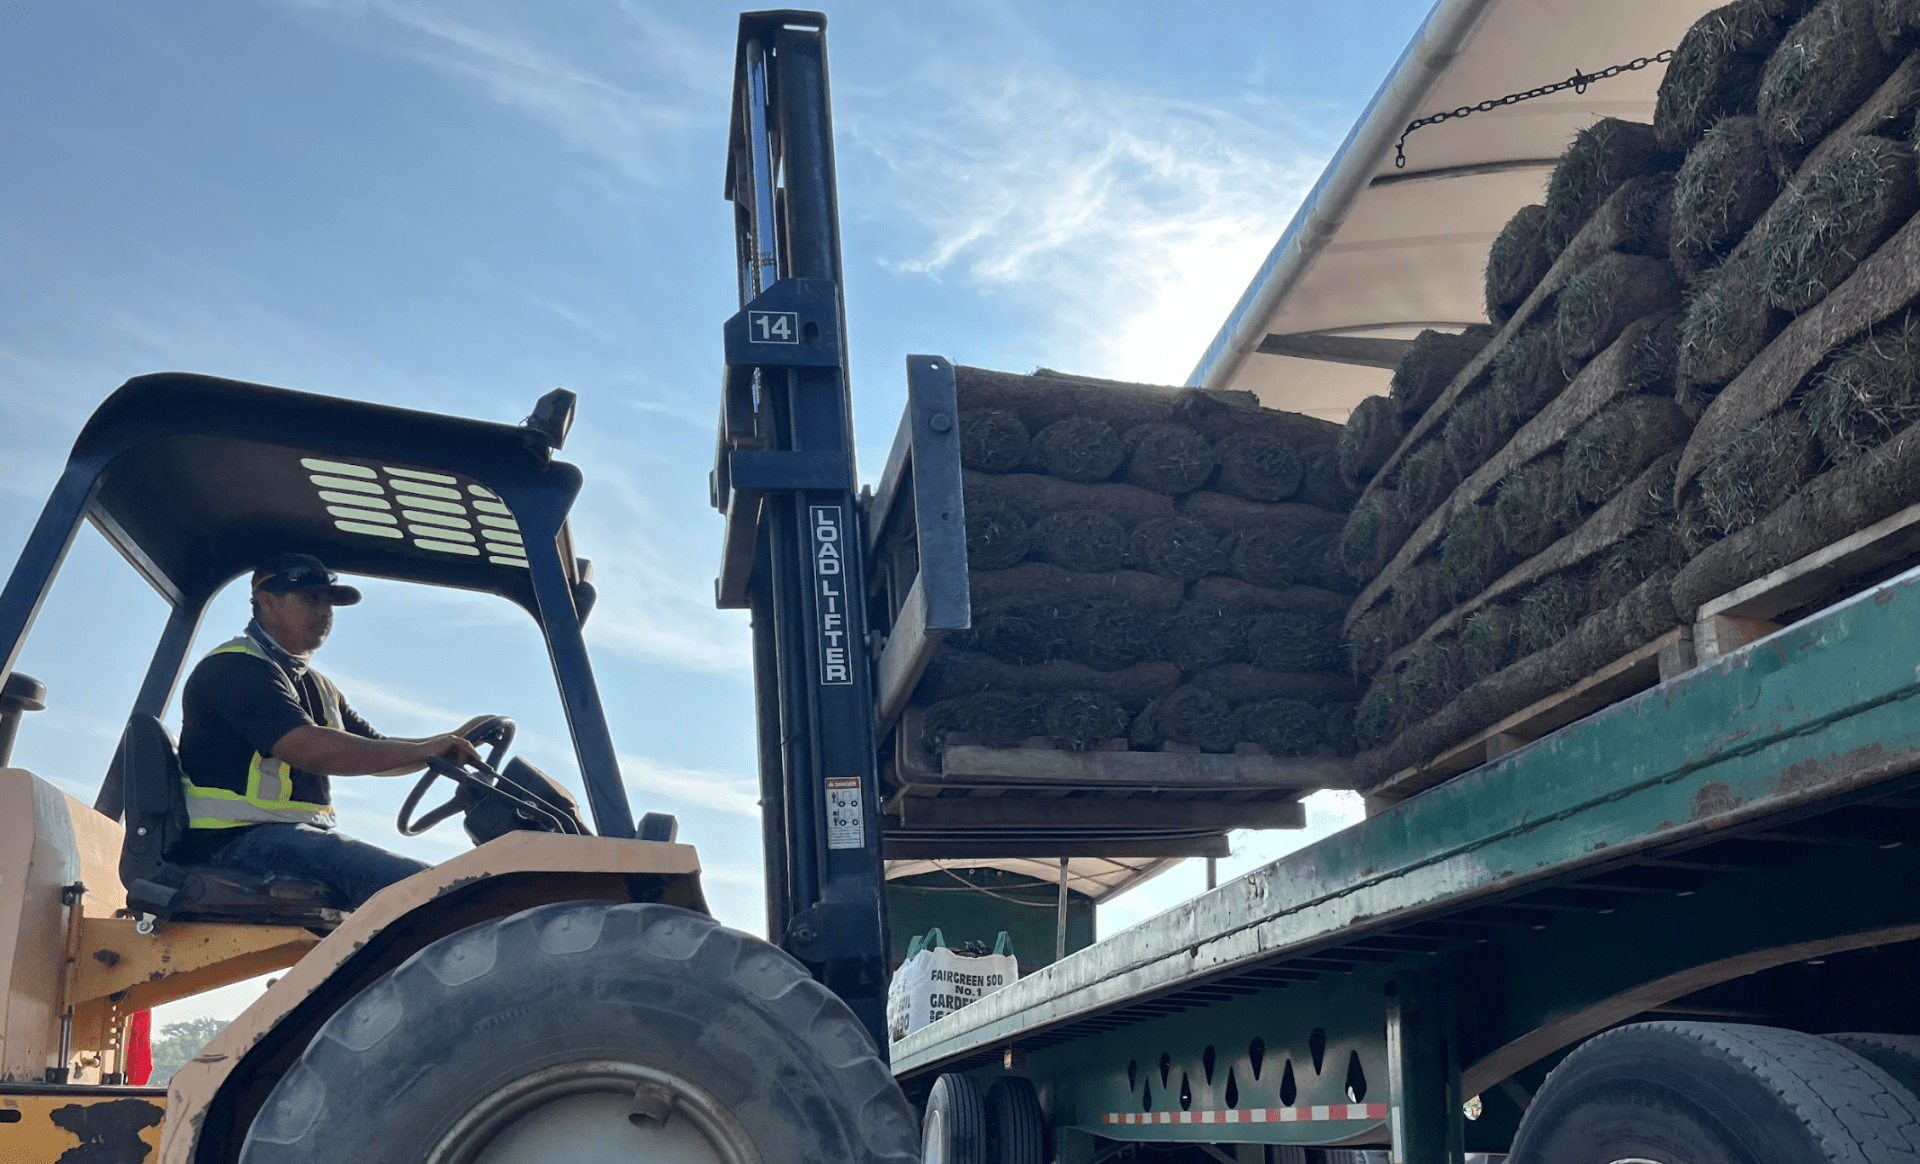
Why Does Quality Sod Make Installation Easier?
The quality of the sod you install has a direct impact on how smoothly the project goes and how quickly your lawn establishes. Mature, well-grown sod with a dense root system is easier to handle, bonds faster with the soil, and delivers a more uniform result.
Stronger, More Mature Sod Handles Better
High-quality sod holds together when lifted, carried, and unrolled. Inferior or under-mature turf tends to tear, crumble, or fall apart, which slows down installation and creates uneven areas. Robust rolls with fully developed roots stay intact as you position them, making it easier to achieve tight seams and consistent contact with the soil.
Uniform Growth Leads to a Cleaner Finished Lawn
Quality-controlled sod has consistent thickness, density, and colour. This uniformity reduces the chances of visible seams, mismatched patches, or thin spots. When every roll is grown to the same standard, the lawn establishes more evenly and requires fewer adjustments during installation.
A Healthy Root System Speeds Up Establishment
Sod grown with regular fertilization and proper care develops deep, vigorous roots. Once installed, these roots anchor quickly and begin spreading through the soil, creating strong early bonding. Fast rooting also reduces the window where sod is vulnerable to drying out, lifting, or shifting.
Fairgreen Sod Farms’ Advantage
Fairgreen Sod Farms grows Kentucky Bluegrass under strict quality controls, ensuring each roll is harvested at the right maturity. Well-developed roots, consistent density, and careful handling mean fewer installation setbacks and smoother results. With dependable sod, you spend less time correcting issues and more time enjoying your new lawn.
How Should You Plan for Long‑Term Lawn Health After Installation?
A newly installed lawn needs ongoing care to stay healthy and resilient. After the first month, shift your focus from rooting and protection to establishing strong growth habits that support long-term performance.
Adjust Your Watering for Deep Root Growth
Once the sod is established, switch to deeper, less frequent watering. In moderate conditions, two to three thorough waterings per week are usually enough. Deep watering encourages roots to grow downward, helping the lawn become more drought-tolerant over time. Reduce watering during rainy periods to avoid oversaturation.
Follow Proper Mowing Practices
Wait until the grass is 2-4 inches tall before the first mow. Use a sharp mower blade and avoid cutting away more than one-third of the grass height at any time. Keeping the lawn between 1-3 inches tall helps shade the soil, reduces weed pressure, and promotes stronger roots.
Begin Fertilizing at the Right Time
Start fertilizing about 6- 8 weeks after installation and every 4 – 6 weeks after then. Choose a balanced fertilizer containing nitrogen, phosphorus, and potassium, and follow the product’s recommended rates. Cool-season grasses like Kentucky Bluegrass benefit from fertilizing in spring and fall. If you need more exact pointers, check out our guide here.
Maintain Annual Lawn Care Practices
To keep your lawn dense and healthy year after year, incorporate seasonal maintenance such as:
- Aeration: relieves compaction and improves nutrient uptake
- Overseeding: helps maintain thickness and fill thin areas
- Dethatching: prevents thatch buildup from restricting water and air
- Topdressing: enhances soil structure and supports long-term growth
- Pest and disease monitoring: catches issues early before they spread
These ongoing practices help your lawn stay resilient, attractive, and easy to manage.
How Can You Get Expert Help and Bring Everything Together?
Even with a solid understanding of sod selection and installation, expert guidance can make the process smoother and your results more consistent. Fairgreen Sod Farms has decades of experience supplying Ontario homeowners and landscaping professionals with high-quality Kentucky Bluegrass, grown specifically to perform well in the region’s climate.
Support From Local Sod Experts
Our team is here to help you choose the right sod, prepare your soil, and troubleshoot any early issues during establishment. Because we grow and harvest sod locally, we understand Ontario’s weather patterns, soil conditions, and common installation challenges. That means you get accurate, practical advice, not guesswork.
Quality You Can Trust
All Fairgreen sod is grown under strict quality control, fertilized regularly, and harvested only when fully mature. This consistency gives you rolls that are dense, resilient, and easy to install. Reliable quality reduces installation time, minimizes adjustments, and helps your lawn establish more quickly.
Guidance for Every Step
Whether you’re selecting sod for the first time, preparing a tricky soil area, or working through an installation challenge, our team is available to support you. From delivery scheduling to post-installation care, we’re committed to helping you achieve lasting results.
If you’re ready to transform your yard with resilient, vibrant sod, we invite you to connect with us. Contact us to speak with our team and start your project. We look forward to partnering with you to create a green space you will love for years.
Summary
If you’re learning how to install sod, having a clear, reliable plan makes the process far more successful. This guide walked you through choosing Ontario-appropriate Kentucky Bluegrass, preparing your soil, laying and rolling the turf, establishing a proper watering schedule, checking root development, protecting your lawn during early growth, and addressing common issues before they spread. You also learned why starting with high-quality sod simplifies every step. By following these principles and caring for your lawn consistently, you’ll install sod with confidence and enjoy a healthy, long-lasting yard.