
7 Signs Your Lawn Is Ready for Sod Installation
When you’re eager to upgrade your yard with fresh sod, it’s tempting to move fast. But the truth is simple: successful sod installation begins with proper soil preparation. If the ground isn’t fully ready, even the best Kentucky Bluegrass won’t root evenly. This can lead to thin patches, shifting seams, drainage issues, and costly corrections later.
Understanding the signs that the soil is ready for sod gives you confidence to move forward with installation and ensures your new lawn establishes quickly and stays healthy in the long term. This checklist guides you through the essential steps of soil preparation for sod installation, covering grading and texture, moisture levels, and timing. When all seven signs are in place, your lawn is fully primed for strong, lasting results.
For more information on sod selection, installation, and care, be sure to read our guide, “Choosing and Installing Sod.”
1. Your Soil Is Graded Properly With Consistent Drainage
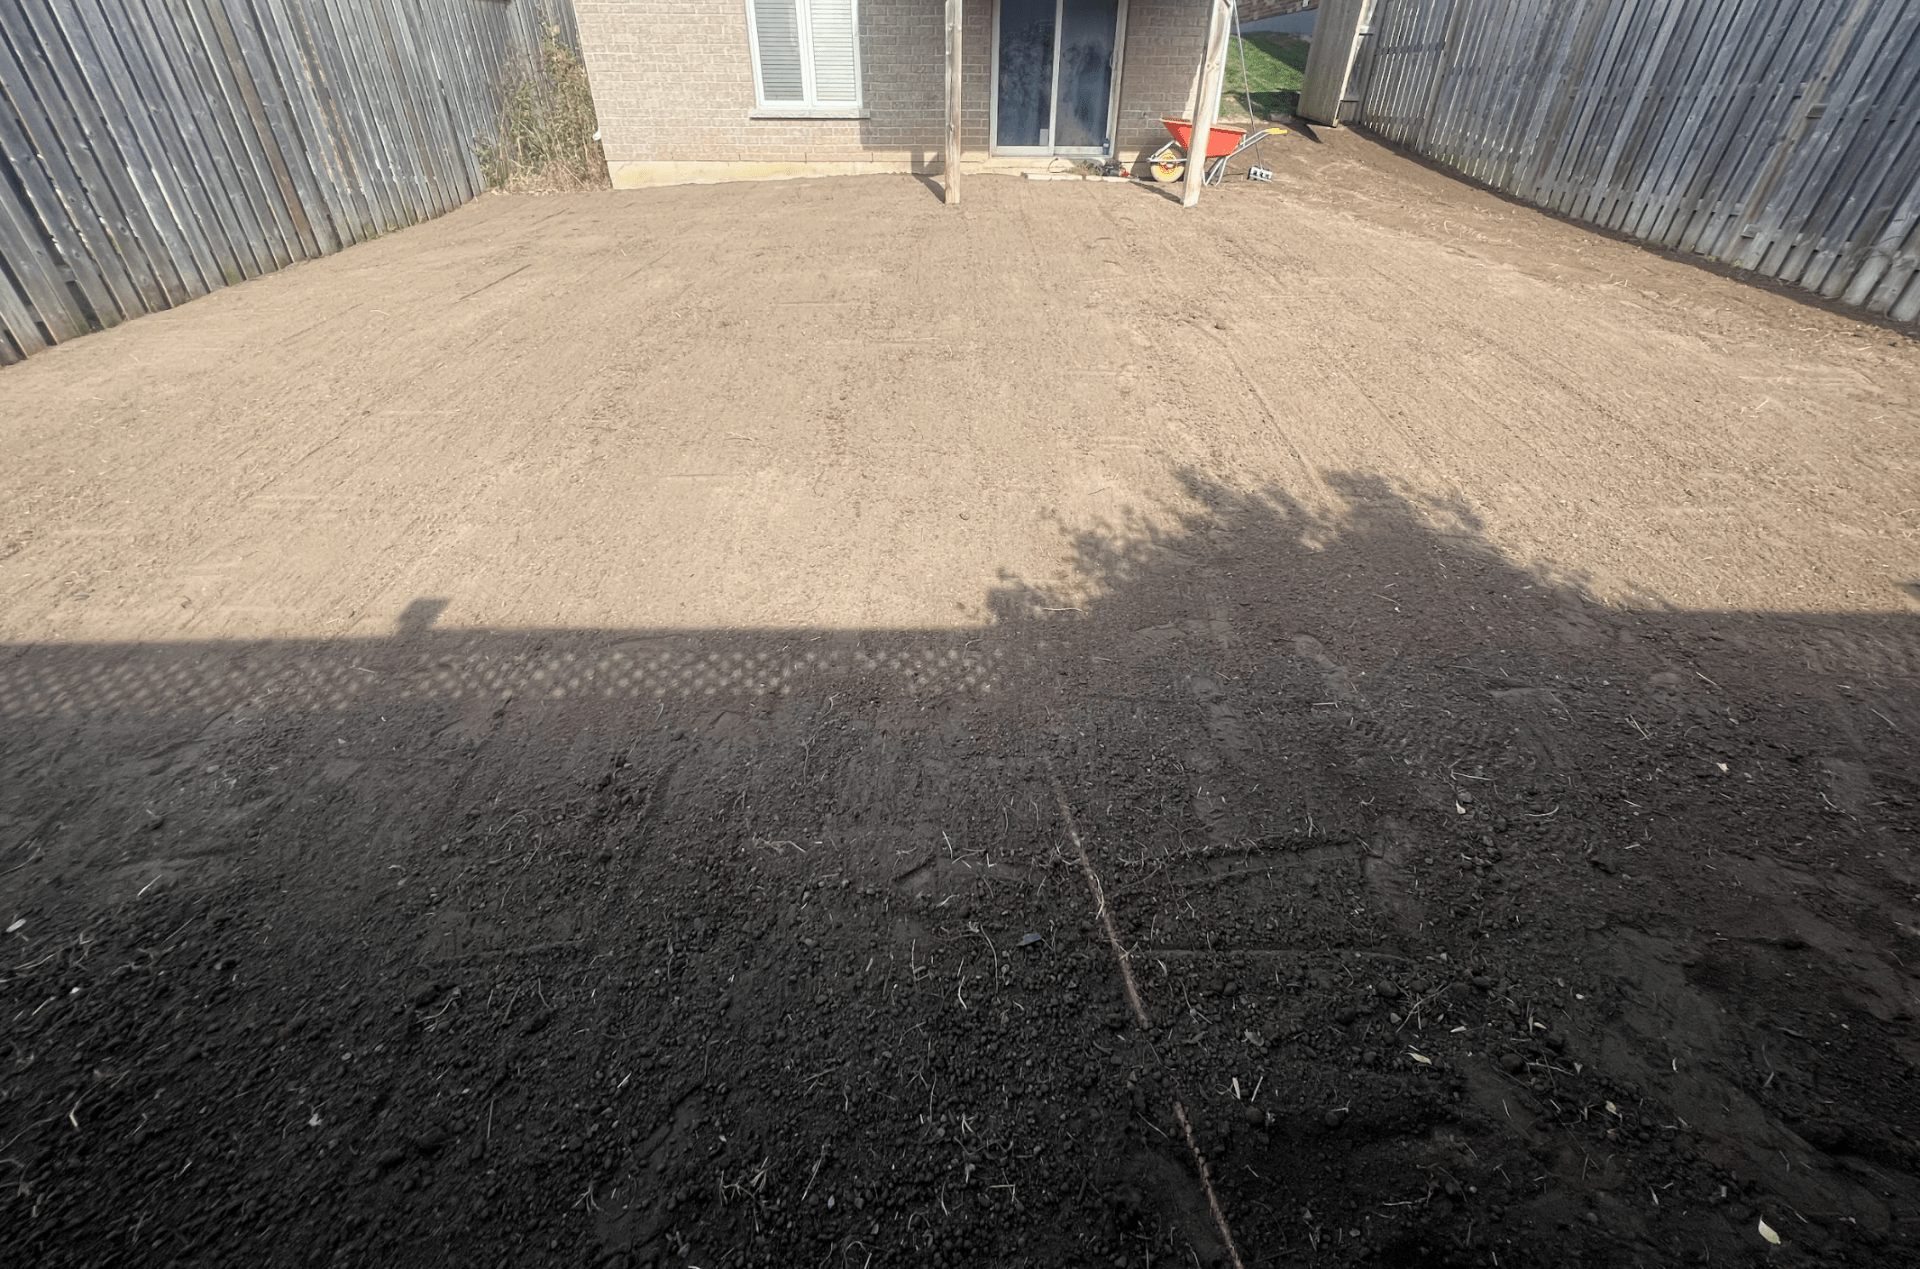
Proper grading is one of the most important parts of soil readiness for sod. If water pools in certain areas or flows toward your home, the sod won’t root evenly, and you may see thinning or turf disease appear early in the season. Your lawn should have a gentle slope that directs water away from foundations, patios, and walkways.
To confirm your grading:
- Look for low spots where puddles form after rain
- Make sure water moves naturally across the lawn without collecting
- Use stakes and string lines to check for level transitions
- Add or remove soil to correct high and low points
If you’ve already completed grading the lawn for sod, you should be able to walk the yard and see an even, intentional flow of water movement. This sets the stage for strong rooting and prevents long-term drainage problems.
2. All Old Grass, Weeds, and Roots Have Been Fully Removed
A lawn is not ready for sod if old grass, invasive weeds, or leftover root systems still exist beneath the surface. These interfere with the preparation for sod installation, compete with new sod for nutrients, and create uneven areas as old vegetation dies off.
Your soil is ready only when:
- All old turf has been cut low or removed with a sod cutter
- Roots, weeds, and unwanted vegetation have been cleared
- Debris such as sticks, stones, and broken edging has been removed
- Problem plants (like creeping weeds) have been taken out by the root
This clean slate ensures direct soil-to-sod contact — a key requirement for healthy rooting. Fairgreen Sod Farms grows fully mature, durable sod, but it still needs a clean surface to lock in and establish properly.
3. The Soil Is Loose — Not Compacted — Down to at Least 3–4 Inches
Compacted soil is one of the biggest hidden issues in failed lawn installations. Even when the surface looks fine, hard-packed ground blocks roots from penetrating deeply, limits oxygen, and increases water runoff.
To check whether the soil is properly loosened:
- Push a screwdriver or soil probe into the ground
- It should insert at least 3–4 inches easily
- Soil should crumble when squeezed, not clump tightly
- Aeration or light tilling should be completed if resistance is high
This step is essential for soil preparation before sod installation, as deeper rooting leads to better heat tolerance, improved drought protection, and more resilient turf. Our Kentucky Bluegrass performs exceptionally well when the soil beneath it is open, airy, and ready for root growth.
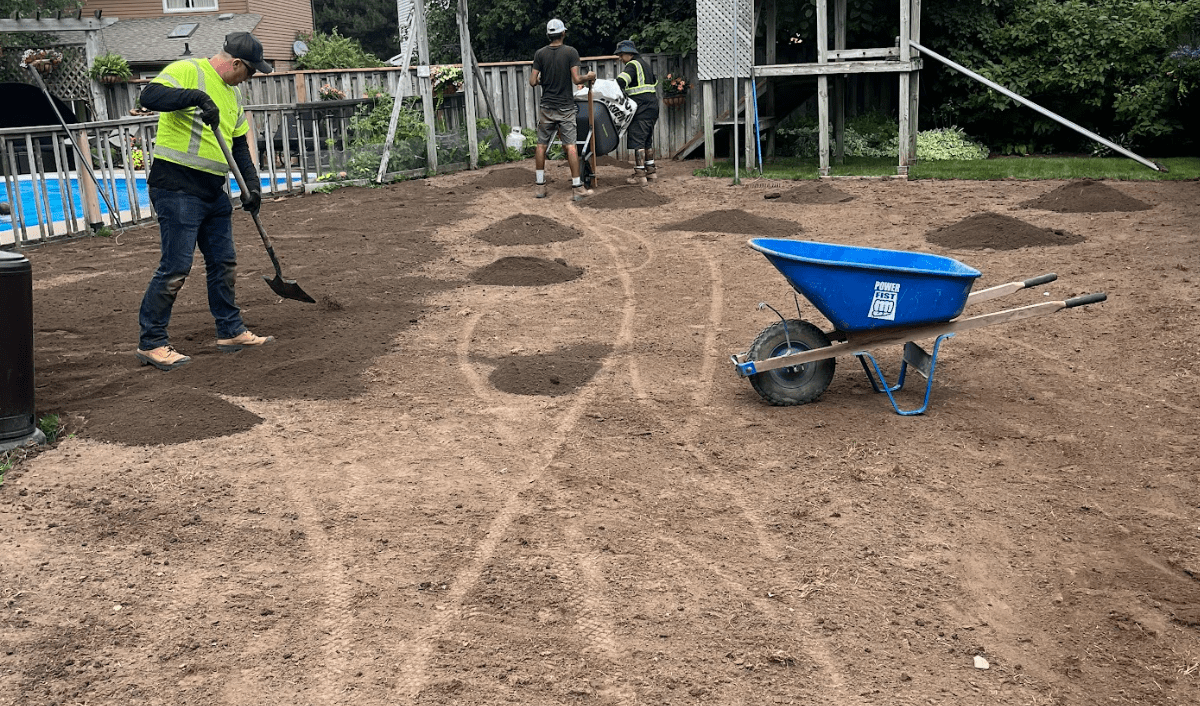
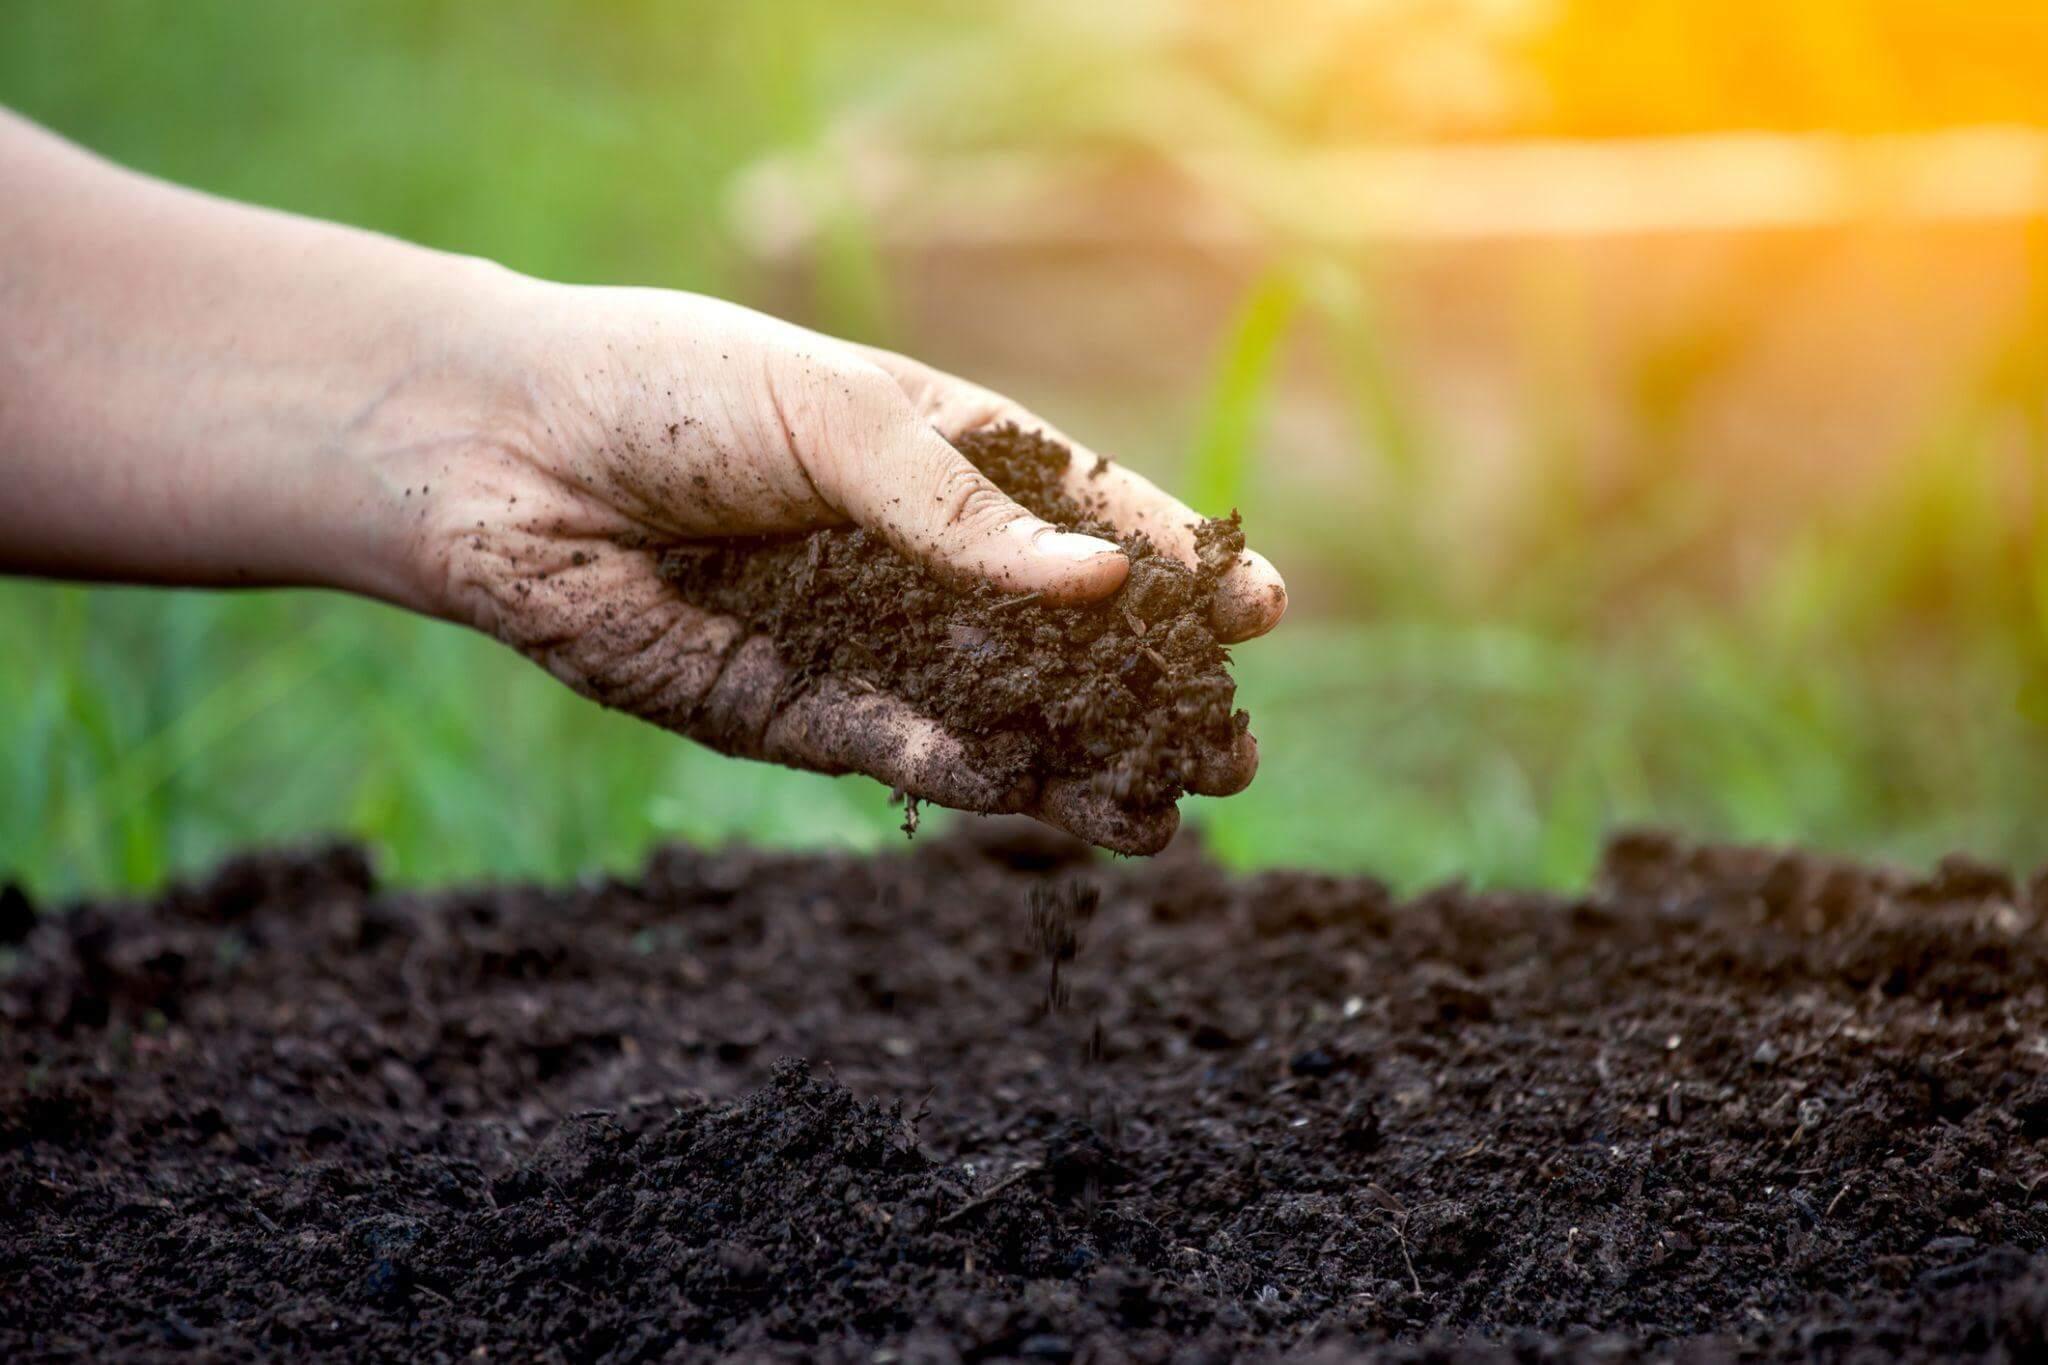
4. Your Soil is Healthy

Healthy soil equals healthy sod. Before laying anything, it’s important to understand that good, lasting results depend on healthy soil. If you’ve had issues in the past, this small step offers significant benefits and helps you avoid potential problems down the road.
Signs you’re ready for sod:
- You’ve added compost or organic matter if nutrient levels were low
- You’ve avoided fertilizing. In general it’s best not to fertilize prior to laying down fresh sod
- If you do a soil test (testing isn’t really necessary), the results show a pH between 6.0 and 7.0 (ideal for Kentucky Bluegrass)
At Fairgreen Sod, our sod is pre-fertilized so you don’t have to worry about fertilizing your yard before installation.
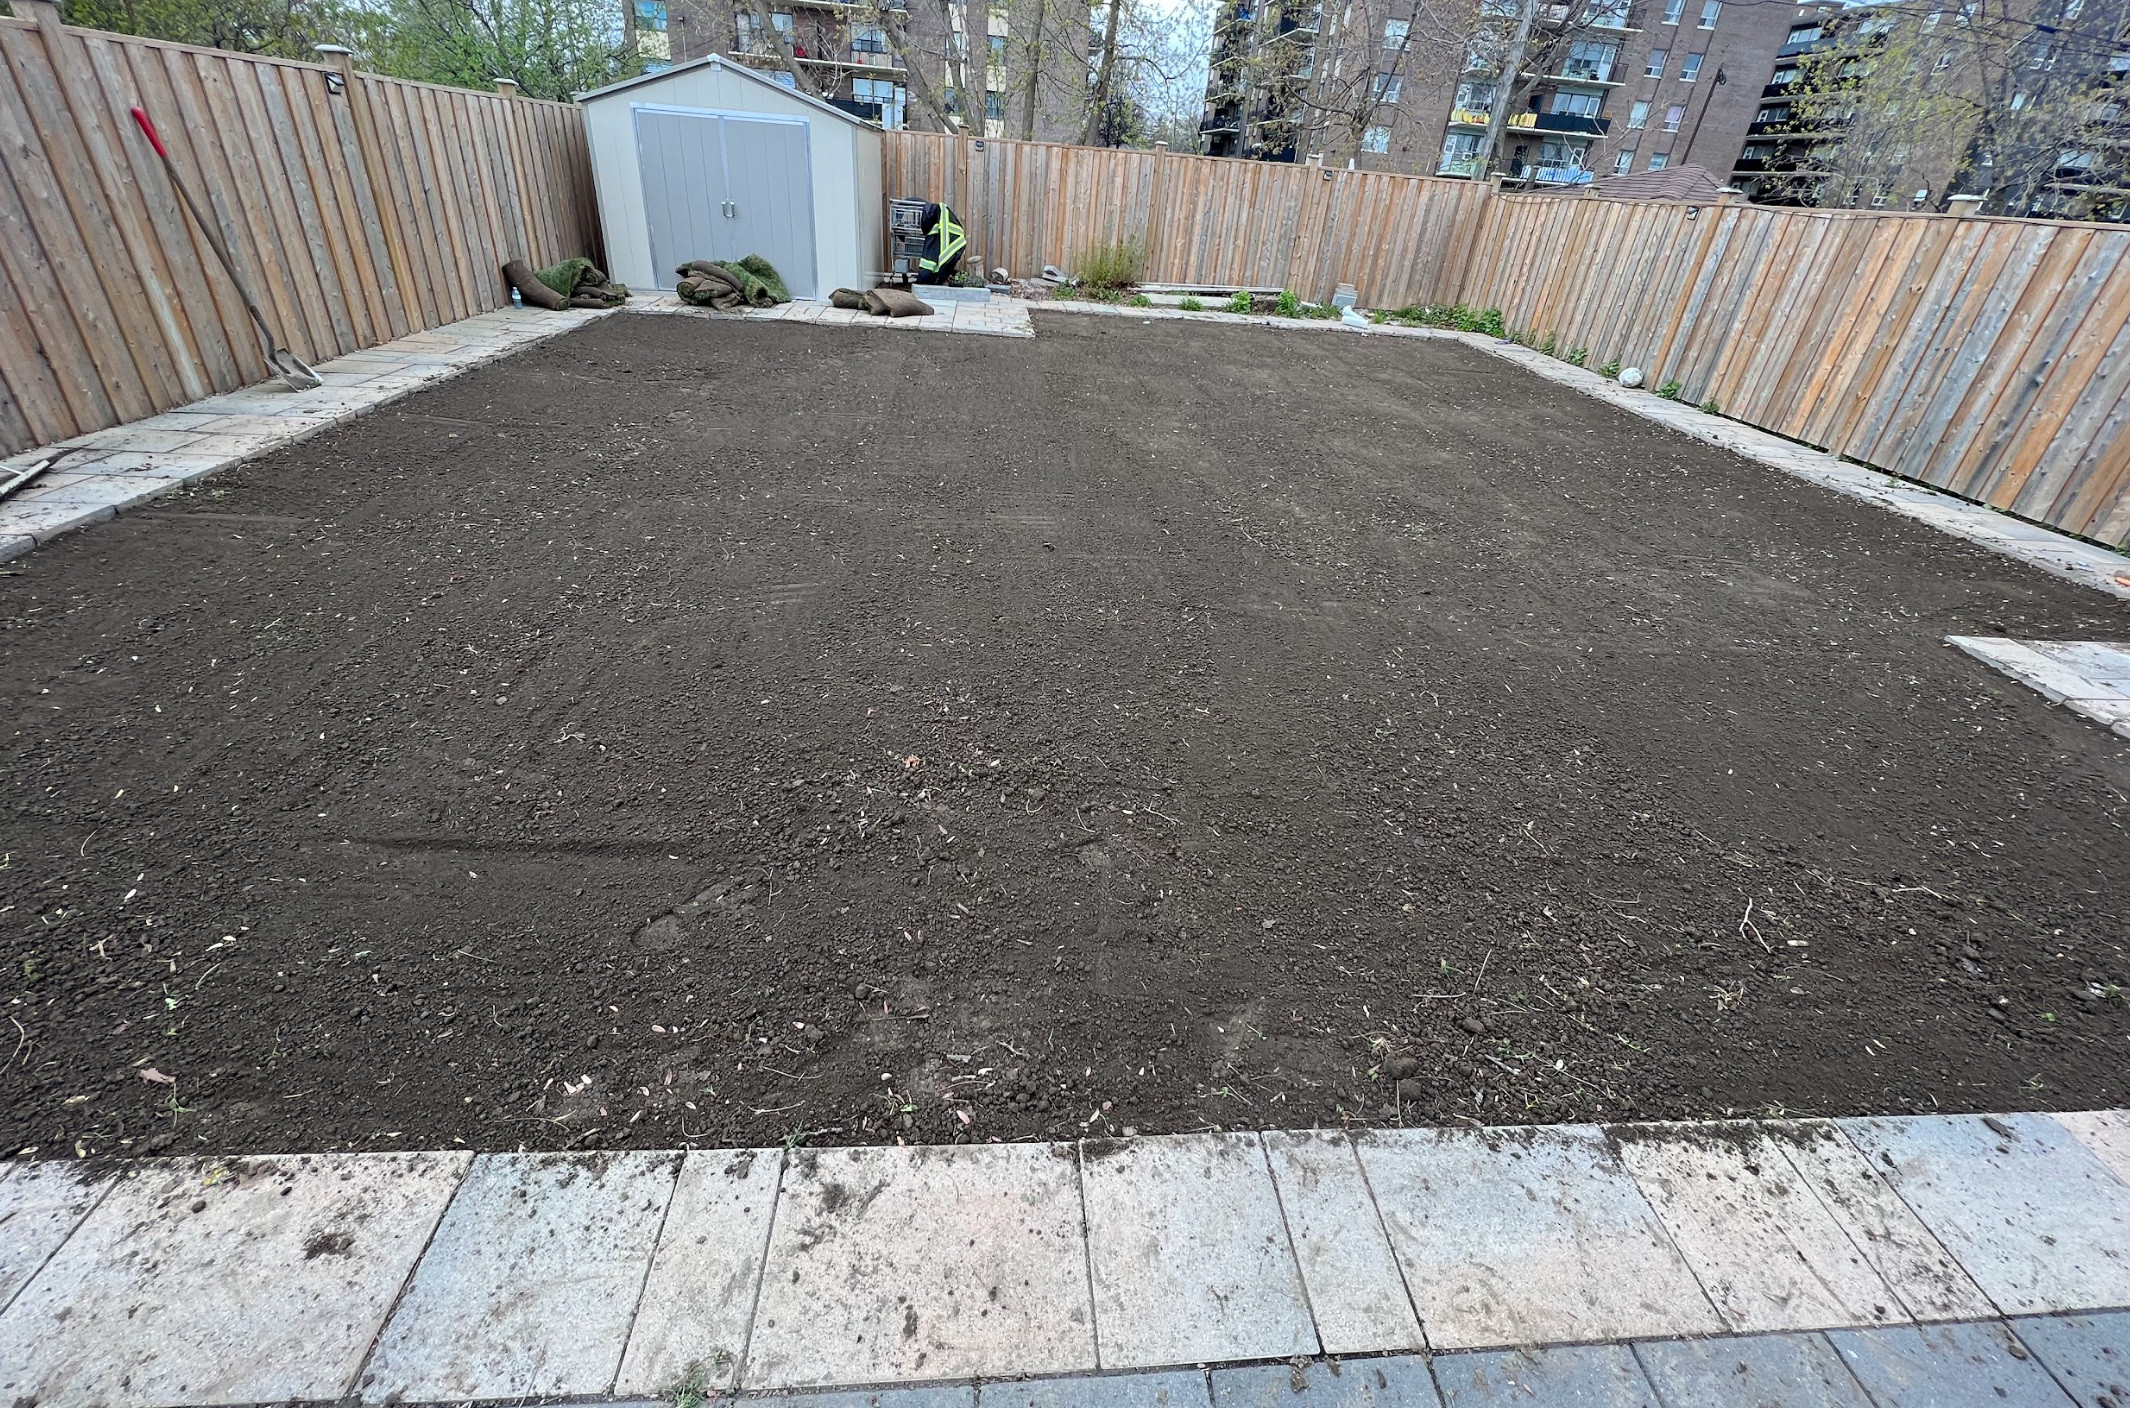
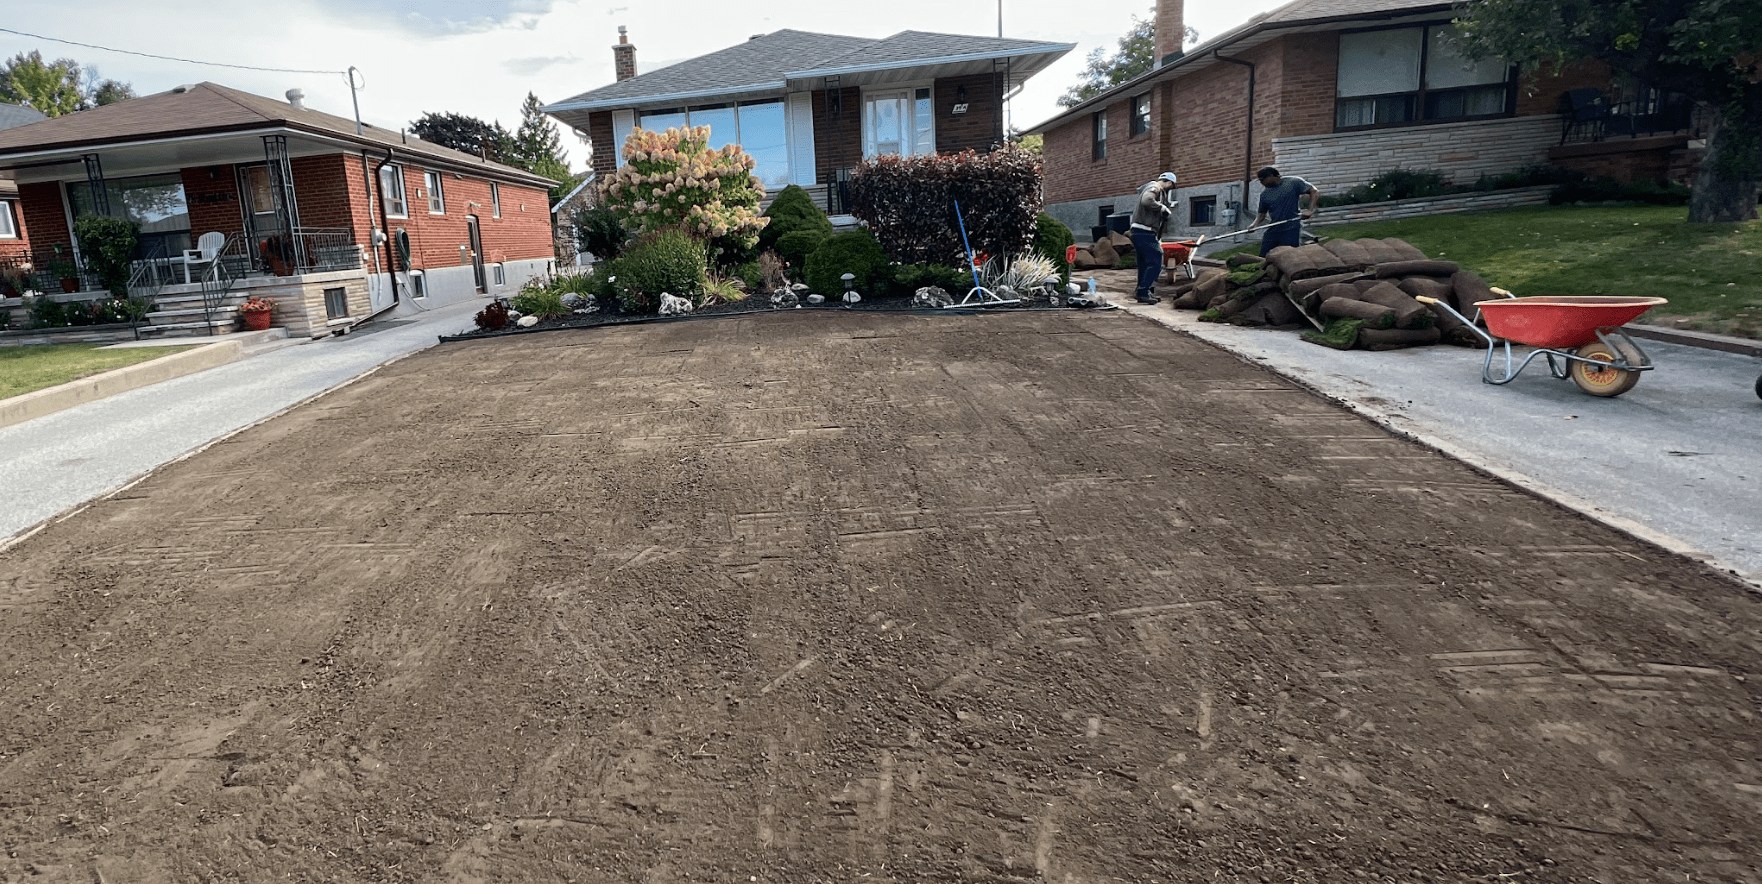
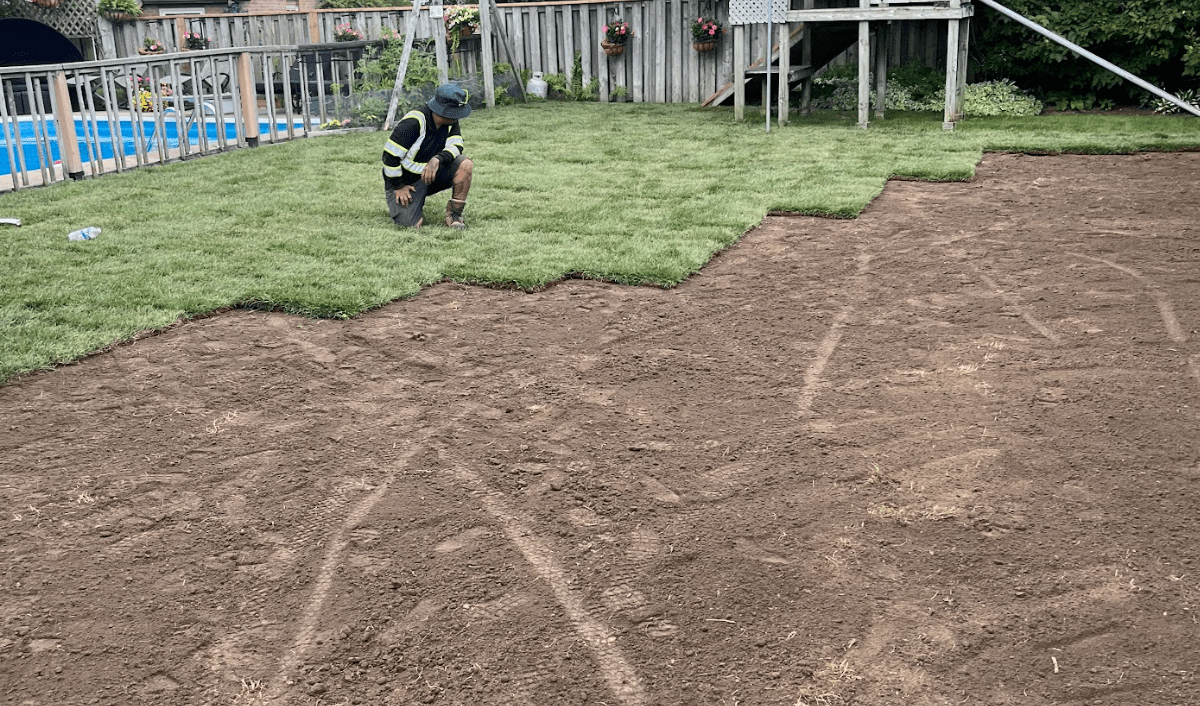
5. The Surface Is Smooth, Level, and Free of Dips or High Spots
Even if your drainage is correct, the surface still needs to be smoothed before sod installation. A lawn that has dips, bumps, or uneven raking marks will create visible seams, drainage problems, and inconsistent rooting.
Your lawn surface is ready if:
- You’ve raked the entire area lightly to remove footmarks and loose clumps
- You’ve corrected any depressions or raised areas
- Soil feels firm enough to walk on without sinking
- The surface looks smooth and uniform from multiple angles
A flat, even base supports full sod-to-soil contact and prevents air pockets. When combined with Fairgreen’s precision-cut sod rolls, this step helps you achieve a seamless look immediately after installation.
6. Moisture Levels Are Right (Soil Is Lightly Damp but Not Muddy)
This is one of the most overlooked steps in checking soil before laying sod. Soil that is too dry causes sod edges to shrink and lift, while muddy or oversaturated ground prevents roots from anchoring.
Before installation, your soil should be:
- Lightly damp to the touch
- Free from standing water
- Able to form a soft crumble when pressed
- Moist enough to support early rooting
If the soil is dusty, water lightly the day before installation. If the soil is wet or muddy, allow it to dry before continuing. The right moisture level helps sod settle quickly and prevents air gaps that delay establishment.
7. Weather and Timing Are Ideal for Sod Installation
Even perfectly prepared soil can struggle if you install sod during the wrong weather conditions. The best conditions for sod installation are cool to mild temperatures, with enough moisture in the forecast to support early rooting.
Here’s how to know conditions are right:
- Daytime temperatures are moderate (spring or fall in Ontario)
- No major heat waves are expected
- The soil is warm enough to support root development
- The forecast shows manageable rainfall, not heavy storms
While sod can be laid throughout the growing season, timing plays a major role in how quickly and evenly it roots. When the weather cooperates, and your soil is fully prepared, sod installation becomes smoother, faster, and far more successful.
Why These Signs Matter
These seven signs ensure your property meets the essential conditions. When you implement proper grading, clean soil, correct moisture, and the right timing, your lawn is primed for lasting success.
Fairgreen Sod Farms produces dense, mature Kentucky Bluegrass designed to root quickly when the ground is prepared correctly. By confirming your lawn meets these readiness indicators, you invest in turf that stays healthy, vibrant, and resilient across Ontario’s seasons.
Contact us if you’re unsure about your soil readiness or want expert advice on selecting the right sod.
Summary
Before installing sod, make sure your lawn meets all seven signs of soil readiness for sod. Proper grading, complete vegetation removal, loose soil texture, balanced nutrients, surface smoothness, correct moisture levels, and favourable weather conditions all contribute to a successful installation. By confirming these conditions in advance, you give your new lawn the strong foundation it needs for quick rooting, healthy growth, and long-lasting performance.