
How to Lay Sod: A Complete Step-by-Step Guide for Homeowners
You might be wondering how to lay sod so it roots quickly and grows into the thick, green lawn you imagine. Small mistakes early in the process (uneven soil, poor watering, or misaligned seams) can slow establishment or cause patches to decline.
This guide walks you through each stage in a clear, practical way, helping you feel confident from soil preparation to long-term maintenance. By following these steps, you can install sod successfully and give it the strong start it needs to thrive.
For more information on sod selection, installation, and care, be sure to read our guide, “Choosing and Installing Sod.”
Step 1 – Preparing the Soil Before Laying Sod
Getting the ground ready is the foundation of every successful sod project. Proper soil preparation improves rooting, drainage, and long-term lawn performance.
Begin by removing weeds, old turf, and unwanted vegetation. You can dig them out by hand, use a sod cutter. If you apply Roundup, make sure to remove dead weeds. Once cleared, loosen the top 2 – 4 inches of soil with a rototiller. Loosening compaction is one of the most effective sod laying techniques because it allows new roots to penetrate deeply.
Add freshly-screened topsoil to improve soil structure and drainage. After tilling, rake the area smooth and remove rocks or debris. Finish by grading the surface slightly away from structures and leaving the soil about 1/4 inch below sidewalks or patios to account for sod thickness.
Lightly water the soil a day or two before installation. It should feel damp but not muddy; perfect conditions for bonding when you begin laying sod.
Step 2 – Measuring and Marking the Lawn Area
Accurate measurements prevent shortages and reduce waste. Measure the length and width of each section and multiply to calculate square footage. Add around 5 percent to ensure you have enough sod for trimming or irregular shapes.
Next, outline the area with stakes and string. This helps you see the boundaries clearly and keeps your edges straight. For curved areas, use a garden hose to mark the shape. Proper marking also makes it easier to plan where seams will fall and ensures you avoid placing narrow strips along borders — a common beginner mistake.
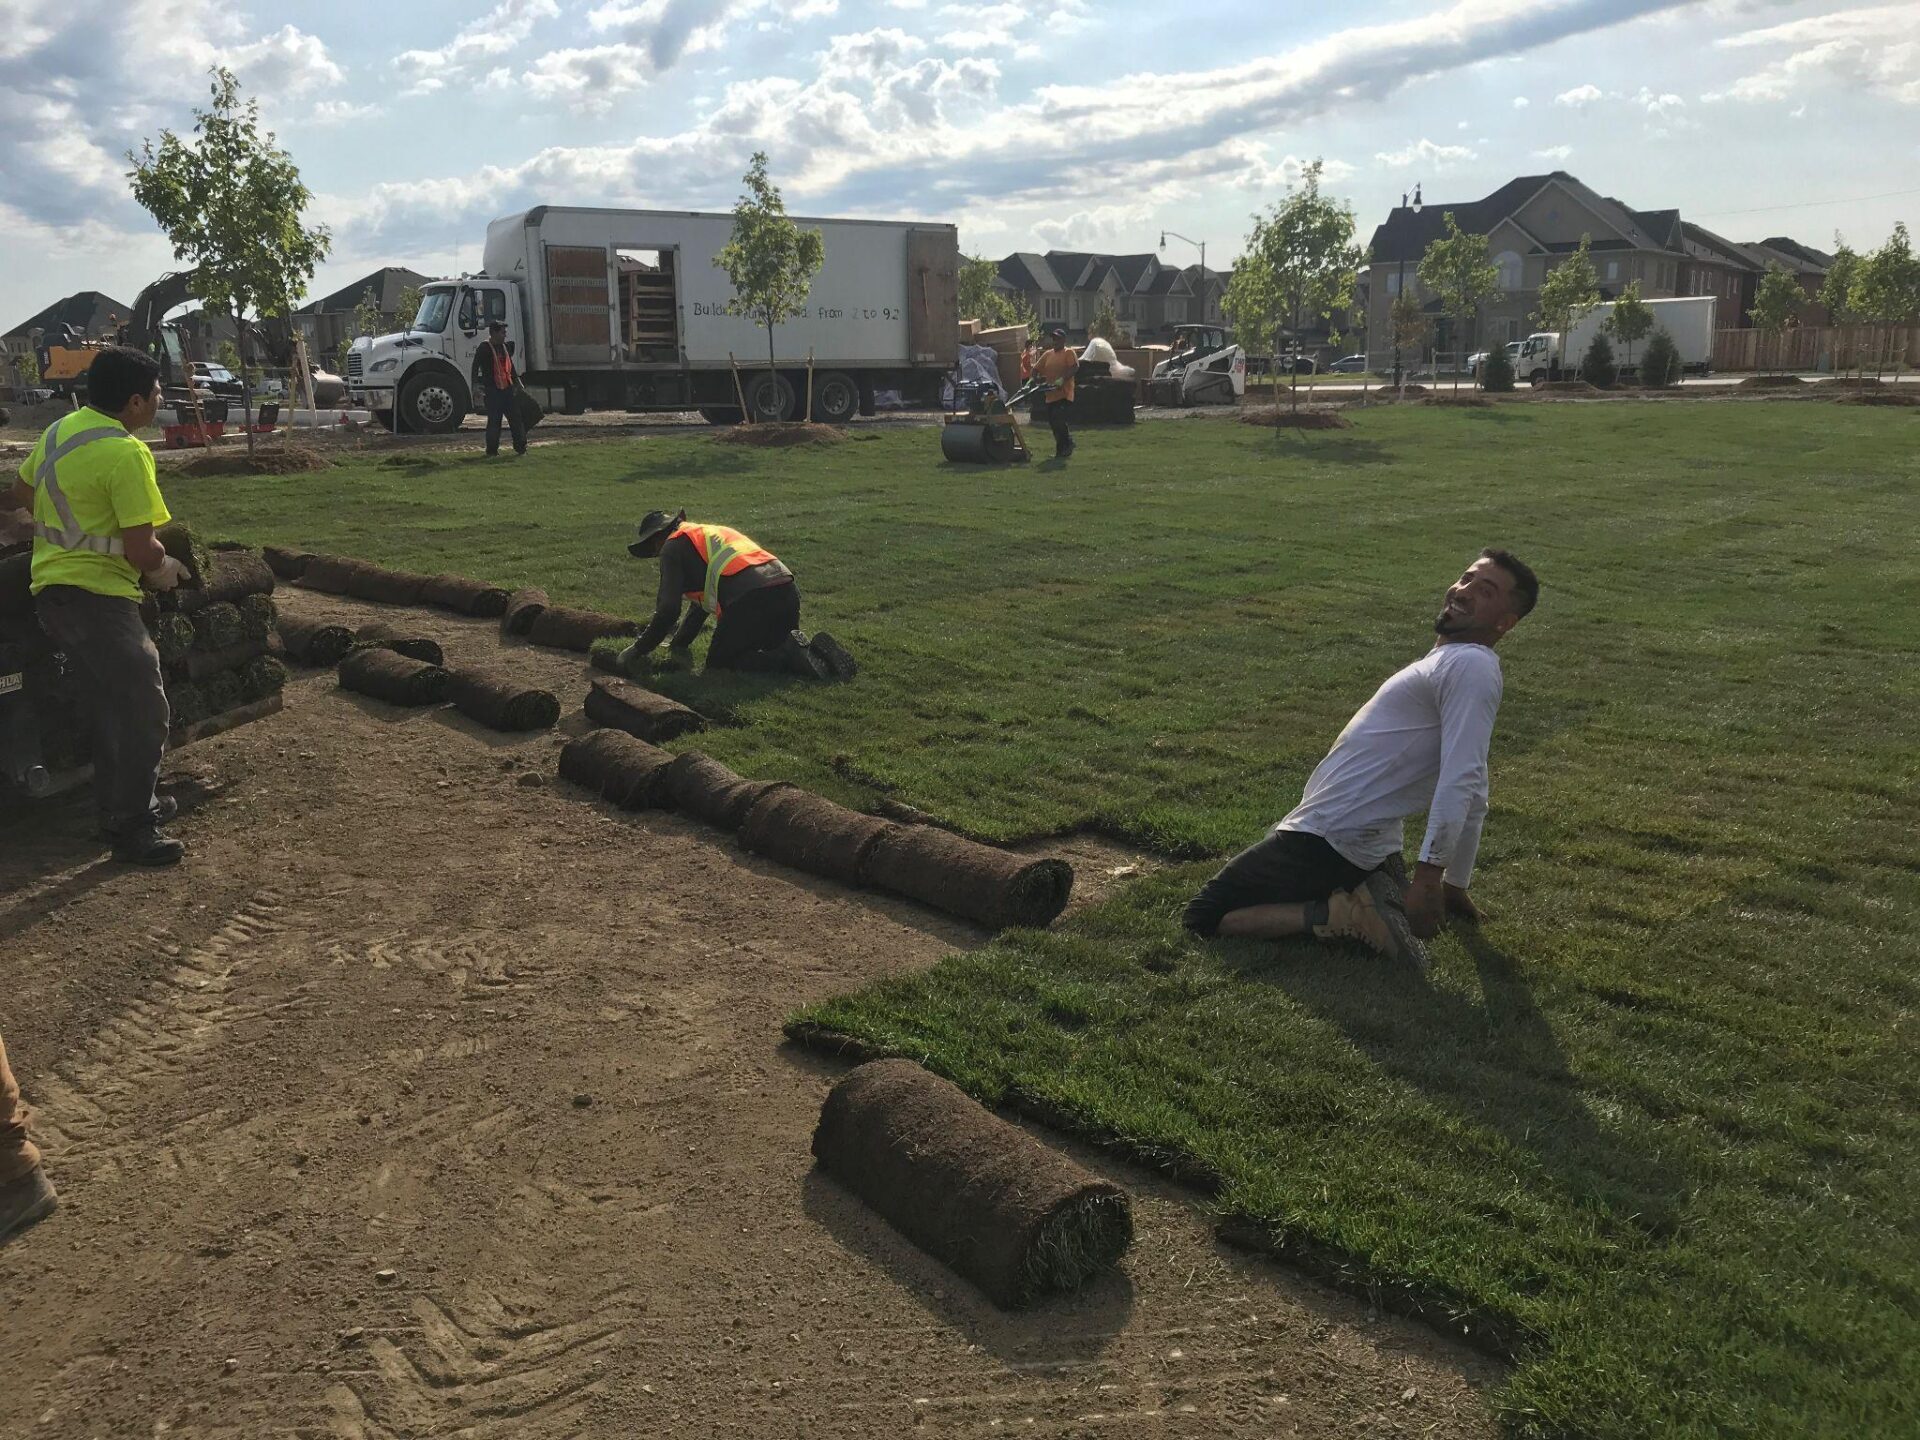
Step 3 – Laying Sod Rolls and Staggering Seams
Begin along a straight edge such as a driveway, patio, or fence. Unroll the first strip and press it firmly into place without stretching or overlapping.
Understanding how to lay sod includes knowing how to place seams correctly. Lay the next row so its seams fall halfway between the seams of the previous row, just like a brick pattern. This method of aligning sod seams prevents visible lines and reduces the chance of gaps forming as the sod settles.
Trim pieces with a sharp knife around trees, sprinkler heads, and garden beds. Always push each strip tightly against the one beside it to maintain consistent contact.
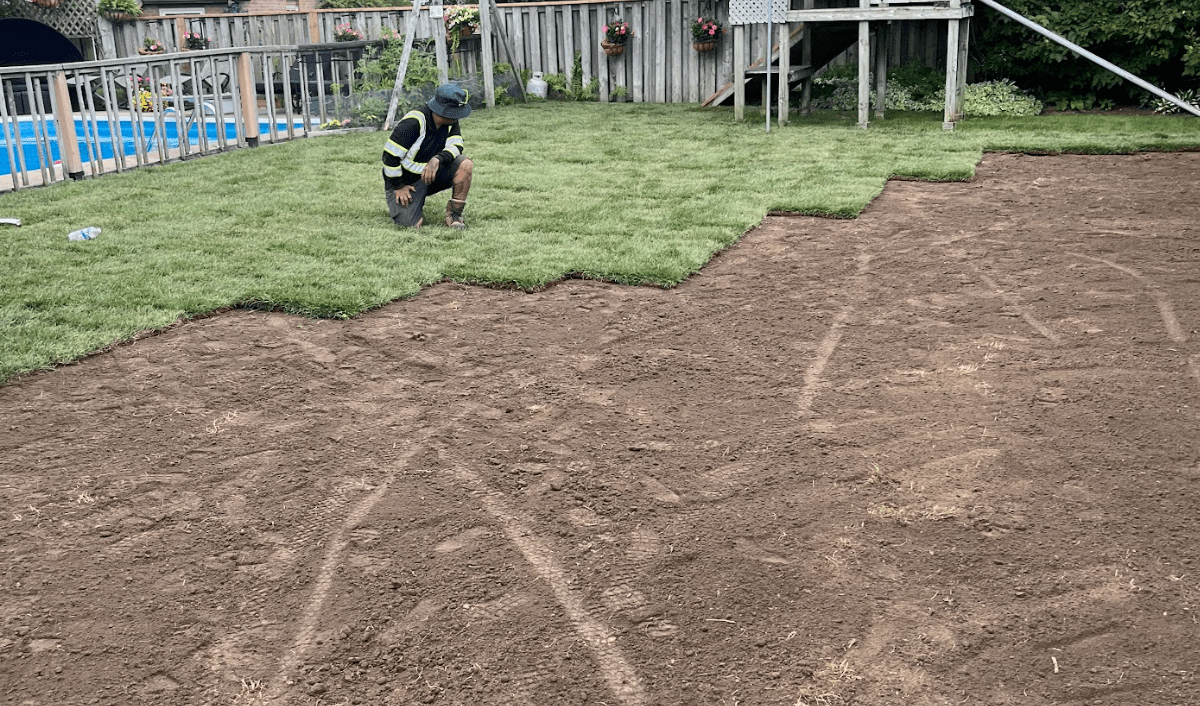
Step 4 – Ensuring Proper Soil Contact Under Each Roll
Sod needs full contact with the soil beneath it to root properly. Uneven ground can create air pockets that slow establishment.
Lift a corner occasionally to check that the moist soil touches the entire underside. If you find gaps, lift the sod, adjust the soil, and reset it until it lies flat. Pay extra attention to corners and seams, which are more likely to curl.
Proper soil contact helps the lawn knit quickly into a single, seamless surface.
Optional – Rolling Sod for Even Soil Contact
Many homeowners don’t own a roller, and as long as you water correctly, rolling isn’t necessary. But rolling can help ensure everything’s level and make sure your new lawn ends up smooth. You can rent a water-filled roller and make one pass over the entire lawn after installation is complete.
Rolling presses the roots firmly against the soil, removes hidden air pockets, and smooths small imperfections. Roll perpendicular to the seams and avoid turning sharply, which can tear fresh turf. Once finished, lightly water the area to settle dust and encourage contact.
This quick extra step leads to better rooting and a more uniform lawn surface.
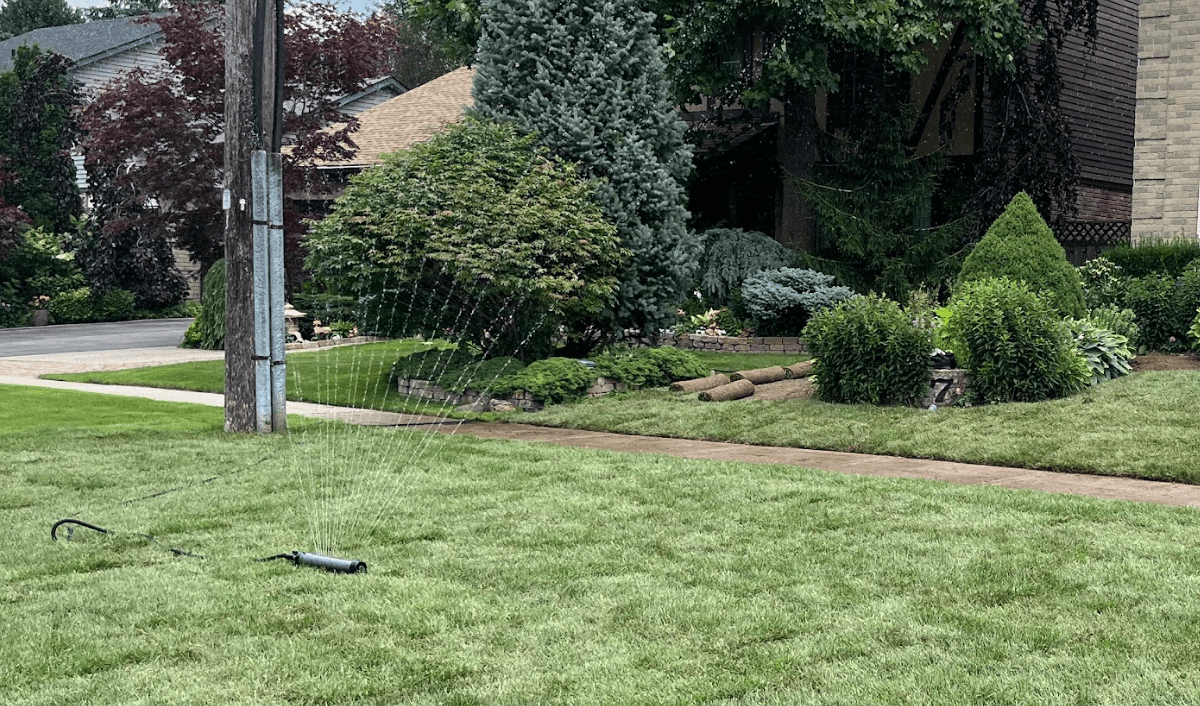
Step 5 – Initial Watering After Sod Installation
Watering is critical immediately after installation. As soon as you finish laying a section (about the size of your sprinkler’s reach), begin watering it — do not wait until the entire yard is complete.
Apply enough water for moisture to soak through the sod and into the soil below. Generally, at least an inch of water across the entire area is a good benchmark. Remember that seams and edges dry out the fastest. Lift corners to check moisture; the underside should feel cool and damp.
Keep unused rolls in the shade and avoid watering sod still on the pallet, as this can cause mould and weaken the turf.
Step 6 – Ongoing Watering Schedule for Root Establishment
Once the lawn is installed, follow a consistent watering schedule after sod installation.
For the first week:
- Water once daily applying at least 1 inch of water across the entire area
- Run sprinklers long enough to ensure moisture reaches the centre of the roll
For the second week:
- Weather-dependent, watering can be reduced to every other day
From weeks three to four (when the sod is usually rooted and resists lifting):
- An inch of water once a week
Watering in the morning is ideal. Avoid watering at night, since prolonged moisture can increase the risk of fungal disease, and avoid hot afternoons. Attentive care during this early period is essential for strong establishment.
Step 7 – When to Start Mowing Your New Sod
Wait to mow until the grass reaches 3 – 4 inches in height and the soil feels firm underfoot. Perform the tug test: gently pull on a corner — if it resists, the roots have begun to anchor.
When mowing for the first time:
- Set the blade high to remove no more than one-third of the grass height
- Use a sharp blade to avoid tearing
- Avoid mowing when the lawn is wet
- Do not water immediately before mowing
Early mowing sets the tone for healthy growth throughout the season.
Step 8 – Fertilizing After Roots Take Hold
Fresh sod from Fairgreen Sod Farms comes pre-fertilized, so you don’t need to feed it right away. Wait six to eight weeks before applying fertilizer.
When ready, choose a granular product designed for starter lawns. Apply with a broadcast spreader and water lightly afterward. One of the most important tips for fertilizing new sod is to avoid over-applying: too much fertilizer can burn young roots and stunt early growth.
Feed the lawn every six to eight weeks during the growing season for best results.
Step 9 – Protecting New Sod From Foot Traffic
While the sod is rooting, keep traffic to a minimum. For the first three to four weeks:
- Avoid walking on the grass
- Place wide boards down if you must cross the area
- Keep pets and children off the lawn
- Use temporary barriers if needed
Learning how to lay sod includes protecting it during this delicate stage. A bit of caution now ensures a stronger, more even lawn later.
Step 10 – Monitoring for Early Signs of Stress or Gaps
Check the lawn daily during the first few weeks. Look for:
- Edges pulling apart
- Yellowing or wilting
- Spongy turf (a sign of overwatering)
- Dry or silvery patches
- Areas not receiving enough sprinkler coverage
If gaps appear, increase watering frequency or adjust sprinkler placement. If sod feels overly wet, reduce irrigation and allow the surface to dry. Early detection prevents small issues from becoming major problems.
Step 11 – Annual Maintenance for Long-Term Health
Once your sod is fully rooted, ongoing maintenance keeps it thick, green, and resilient.
Each year:
- Fertilize every six to eight weeks in spring and fall
- Overseed thin areas annually
- Aerate compacted soil
- Water deeply during hot, dry periods (at least an inch per week)
- Mow regularly, at your blade-length preference
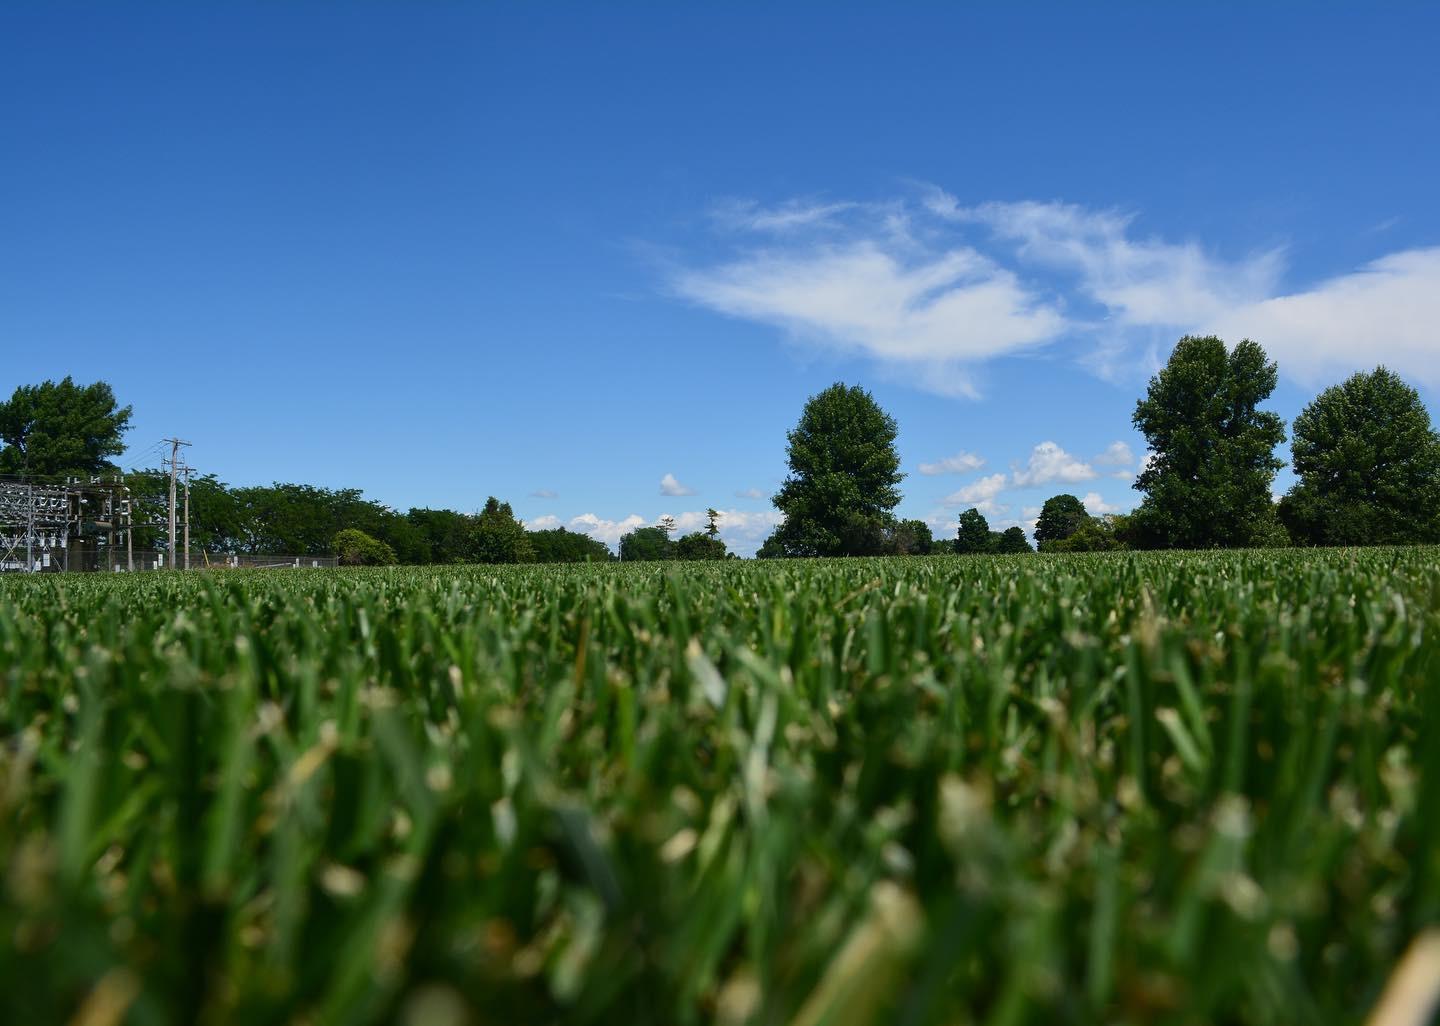
With proper care, your sod will look great season after season.
Bringing It All Together, And When to Ask for Expert Help
By now, you understand how to lay sod from start to finish — from preparing the soil and placing each strip to watering, mowing, and long-term maintenance. For homeowners with tight schedules or complex landscapes, professional guidance can make installation even easier.
Fairgreen Sod Farms supplies dense, mature Kentucky Bluegrass grown specifically for Ontario’s climate. Every roll is fertilized, monitored, and harvested at peak maturity so it holds together during installation and roots quickly once placed.
Contact us for assistance estimating quantities, planning your project, or ensuring your soil is ready. We also supply high-quality soil and other lawn essentials to help you create the perfect base.
Summary
This guide explained how to lay sod with clear, detailed steps covering soil preparation, measuring and marking your yard, laying and staggering strips, ensuring proper soil contact, rolling the surface, watering correctly, mowing at the right time, and feeding the lawn after rooting. You also learned how to protect new sod, spot early problems, and complete annual maintenance to keep your lawn healthy. By following these techniques, you can confidently take on a sod installation project and enjoy a lush, long-lasting lawn.