
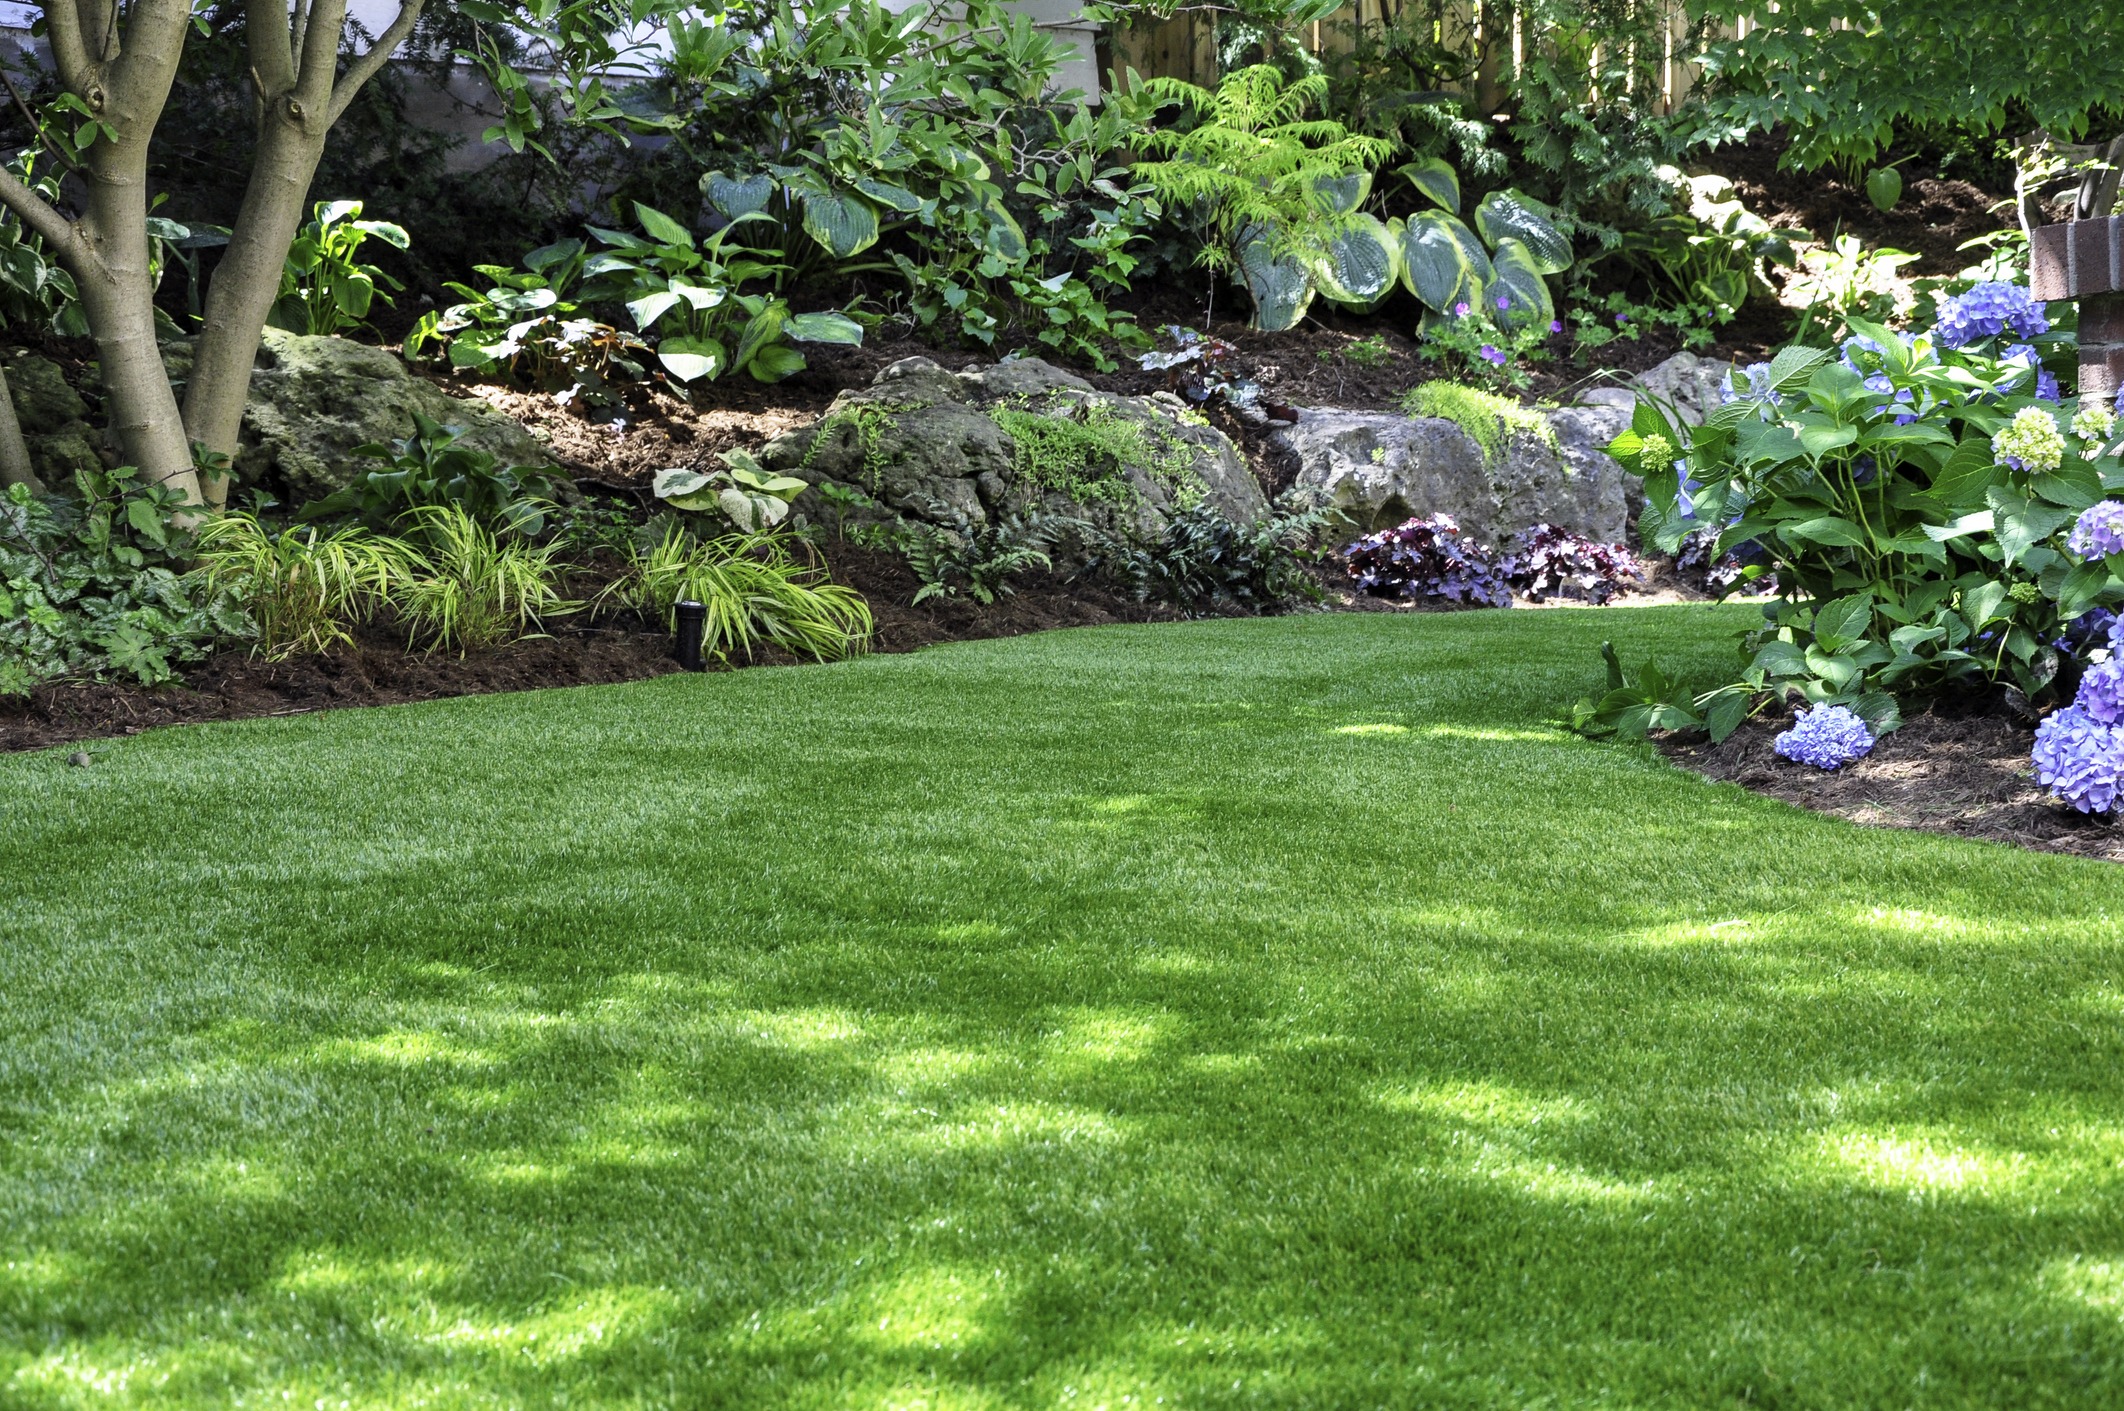
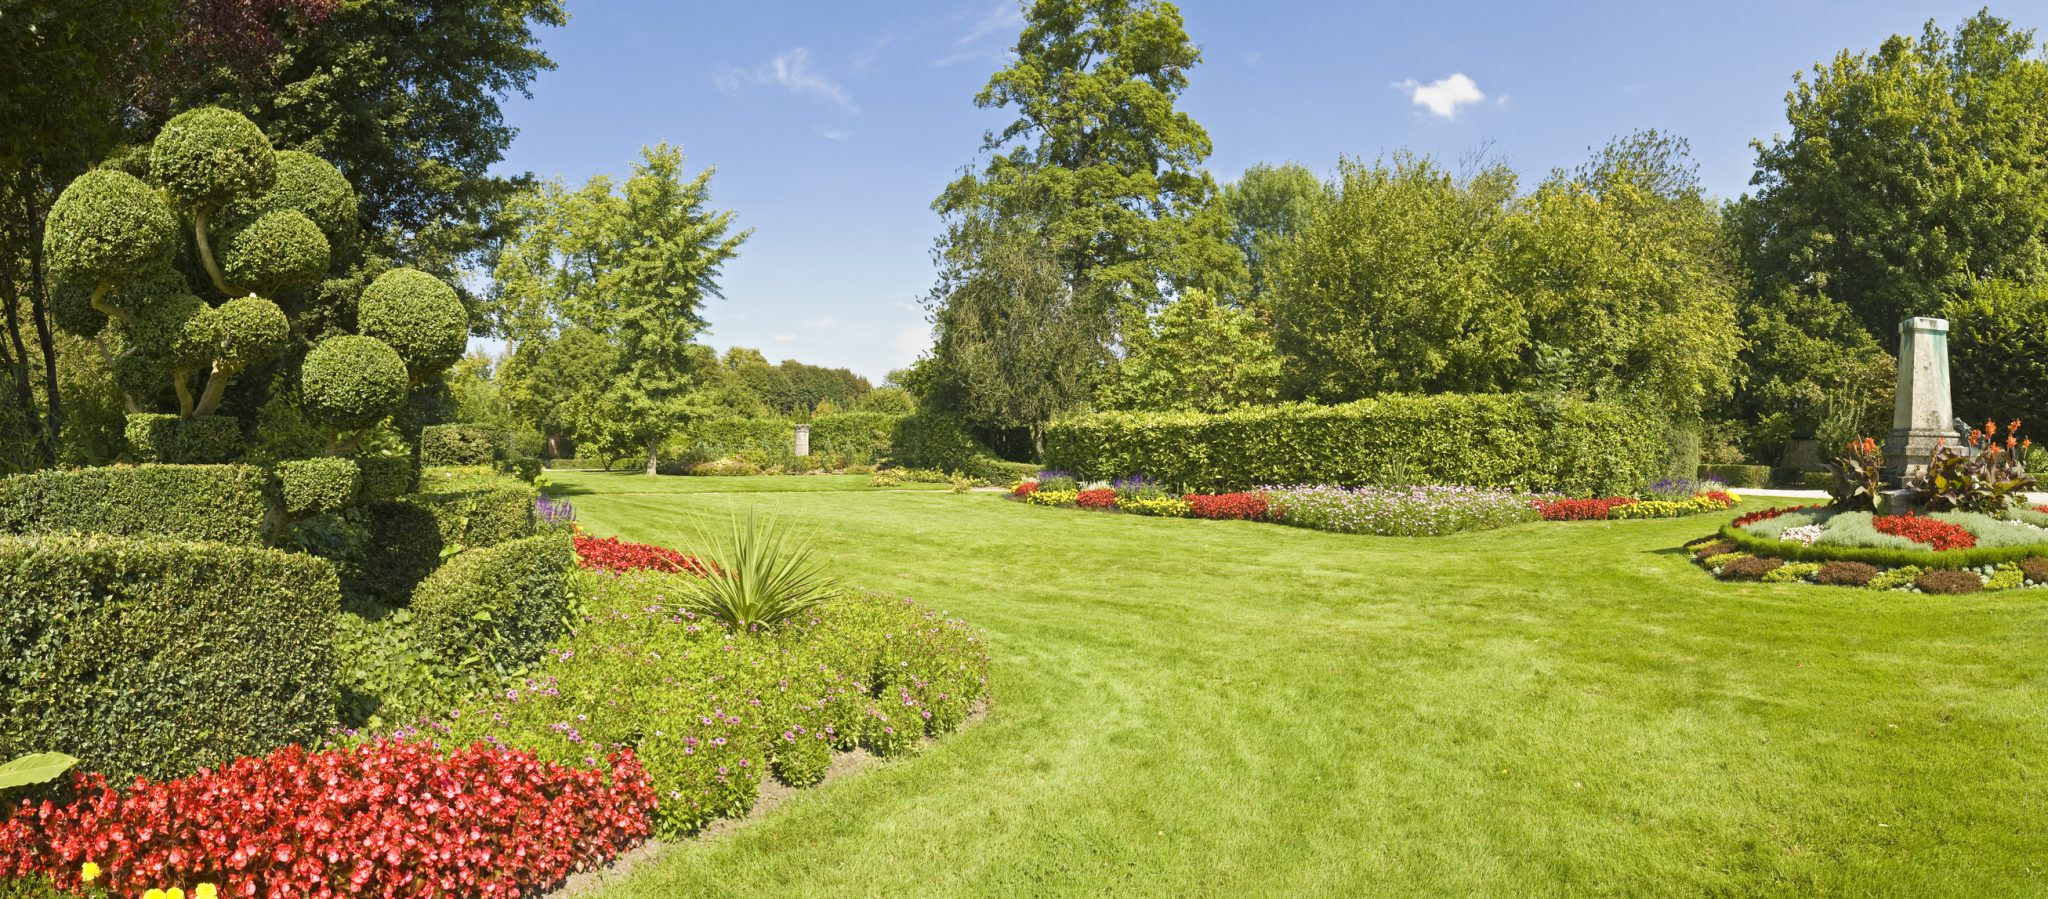
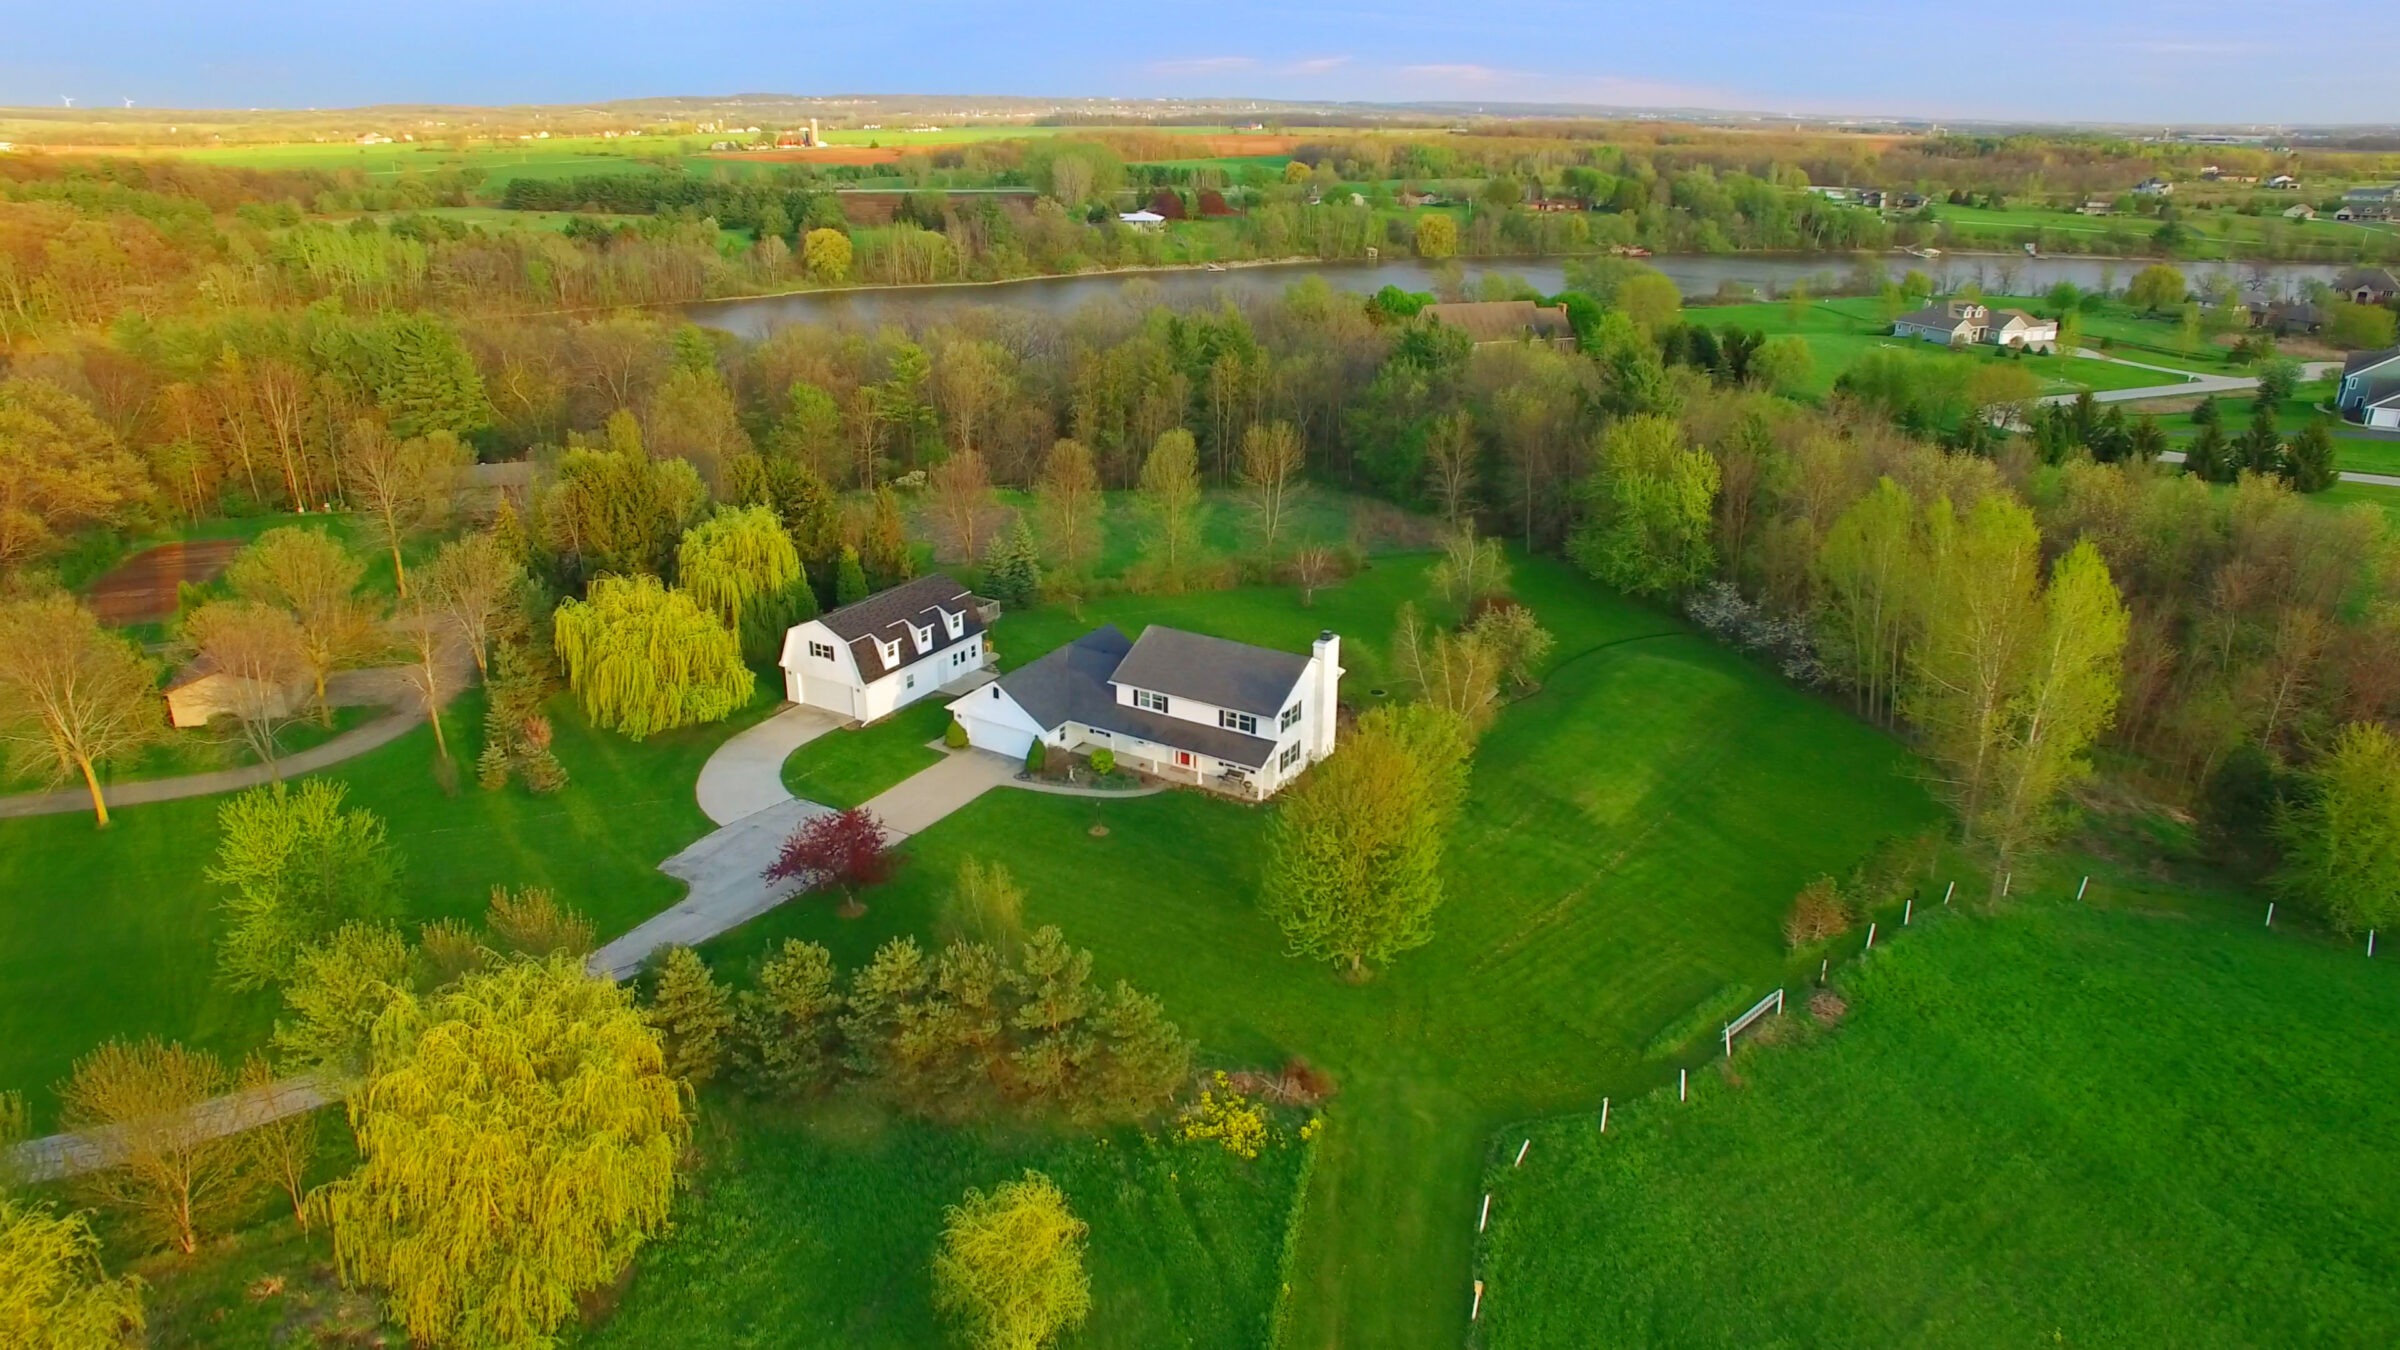
The Ultimate Sod Care Handbook for Toronto: Watering, Mowing, and Year-Round Maintenance
If you’ve recently installed sod or inherited a lawn, you might be asking: Why is my sod turning yellow? Or does Toronto’s climate require special lawn care? Many homeowners in the Toronto and Markham areas are overwhelmed by the unique challenges of our region’s hot summers, cold winters, and everything in between. Without the right care, your newly laid sod can quickly develop problems—dry spots, fungus, and even pest infestations.
An improperly maintained lawn can become patchy, dull, and disease-prone. When you’ve invested time and money into fresh sod, it’s heartbreaking to watch it deteriorate—especially knowing that a few preventive steps could have saved it. Toronto’s climate, with scorching summer weeks and winter ice, can be unforgiving. Many homeowners wing it, only to discover the costs and hassles of constant repairs or re-sodding.
That’s where this Ultimate Sod Care Handbook comes in. Think of this guide as your one-stop resource for every stage of sod maintenance in Toronto, Markham, and the broader GTA. You’ll learn:
- How to water effectively (without risking fungus or under-watering)
- When and how to mow for optimum sod health
- Seasonal care checklists—Spring, Summer, and Fall—to keep your sod looking its best
- How to troubleshoot common issues like brown patches, pests, and lawn diseases
Following these best practices will transform your lawn into a lush, resilient oasis that thrives in our local climate. Ready to take your sod game to the next level?
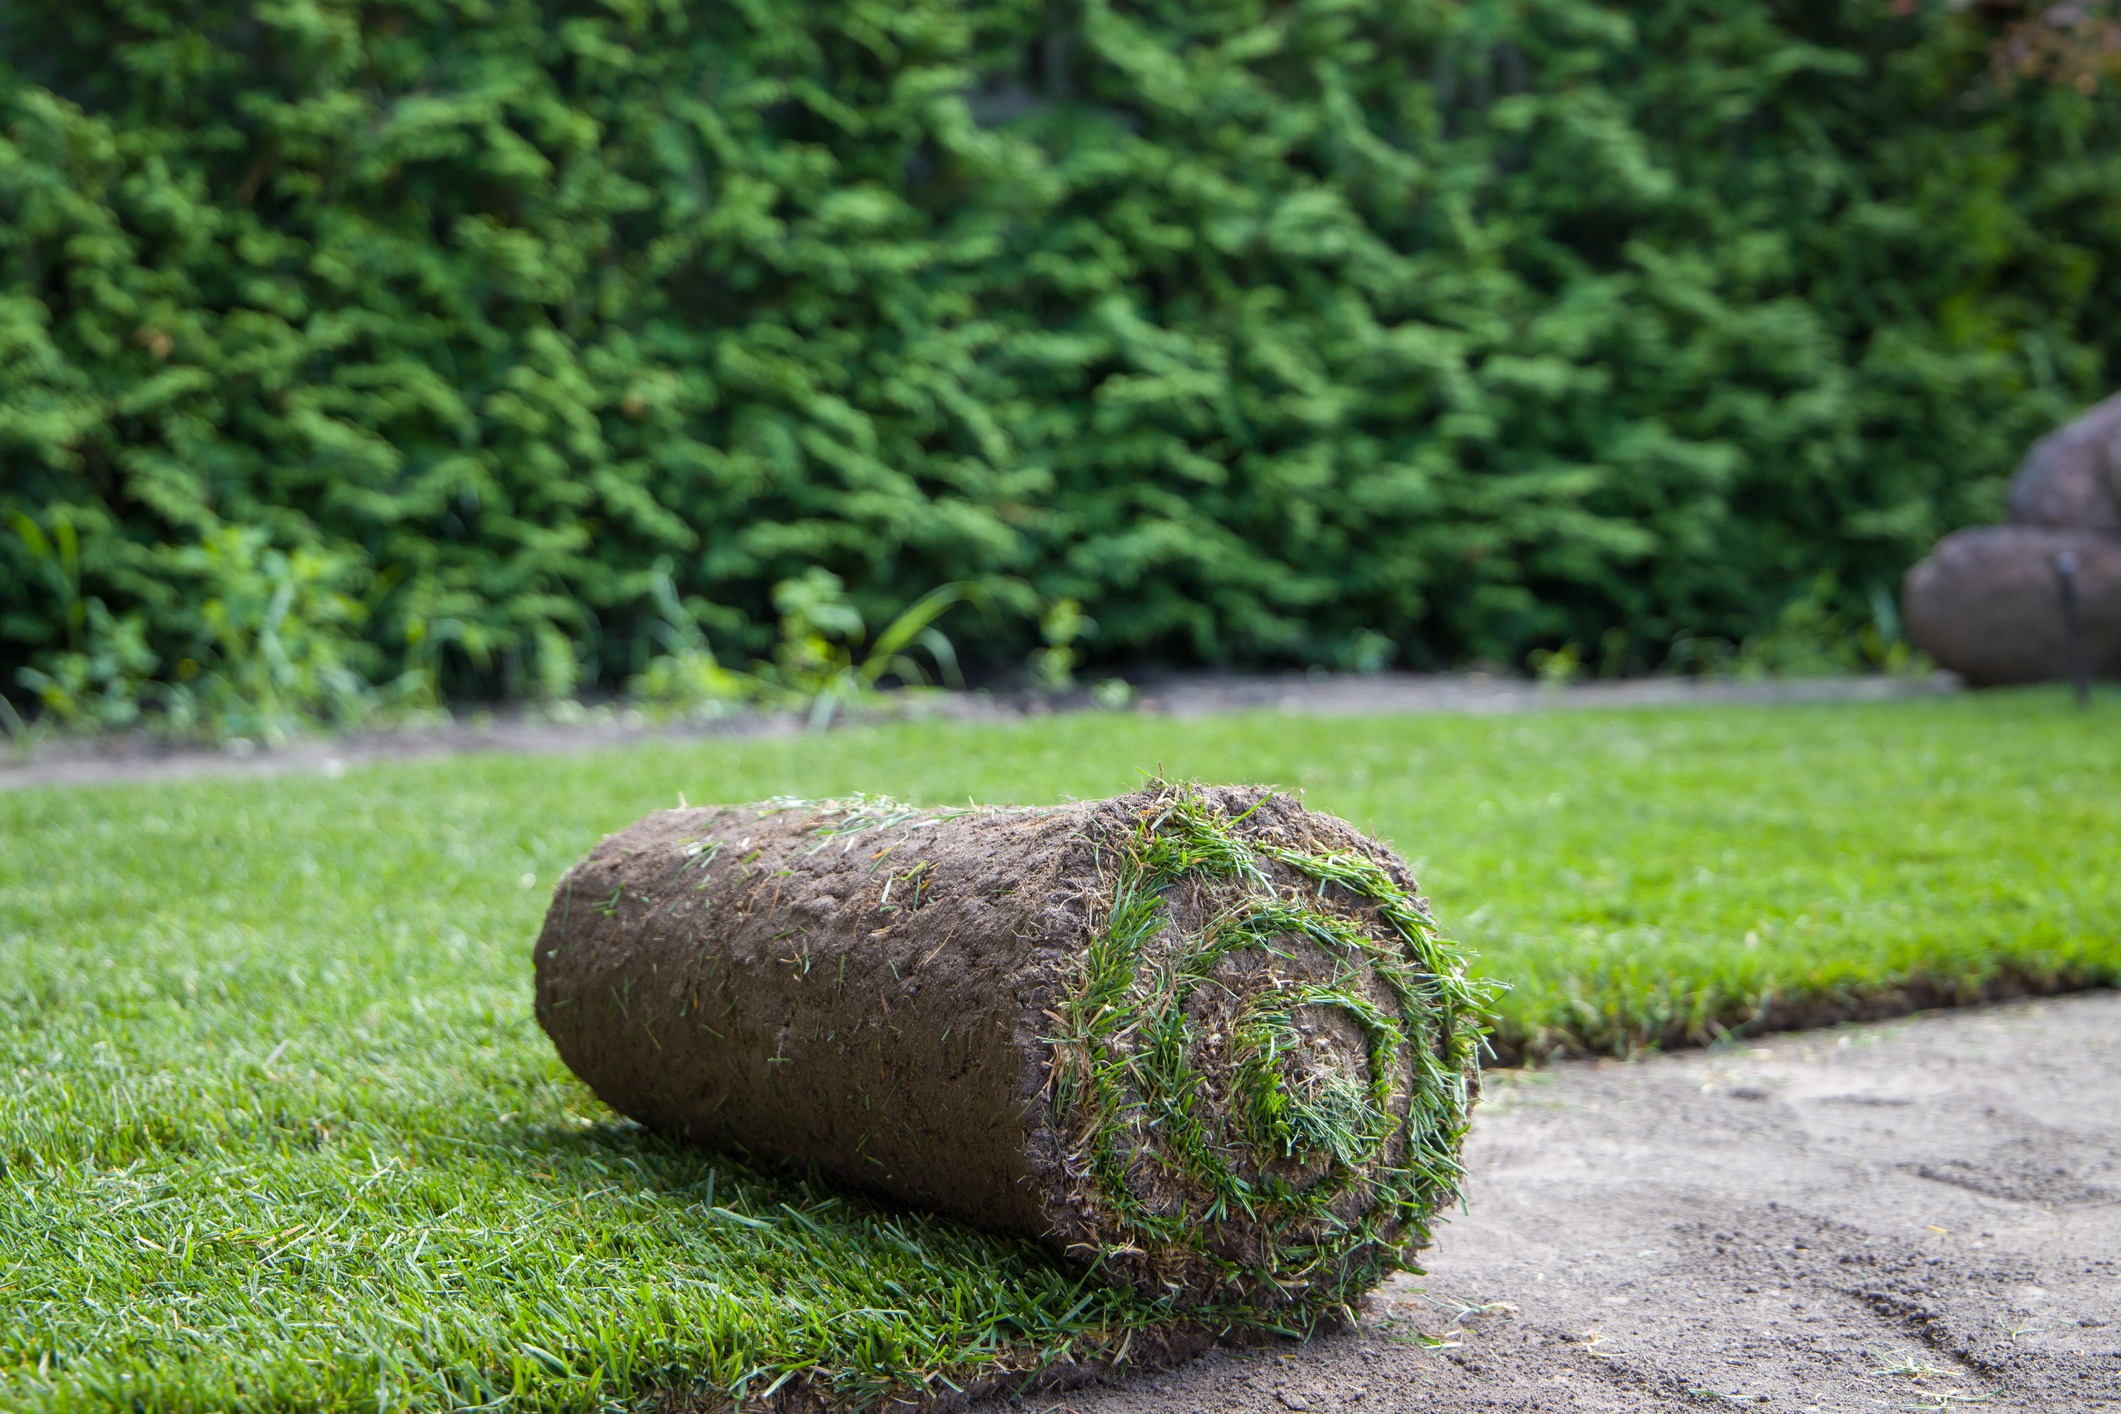
Pro Tip: If you haven’t installed sod yet or need a refresher on proper soil prep and laying techniques, check out Fairgreen’s Sod Installation Guide. Even if you’re just starting, it pays to know what’s ahead regarding maintenance.
Watering Your Sod Lawn in Toronto
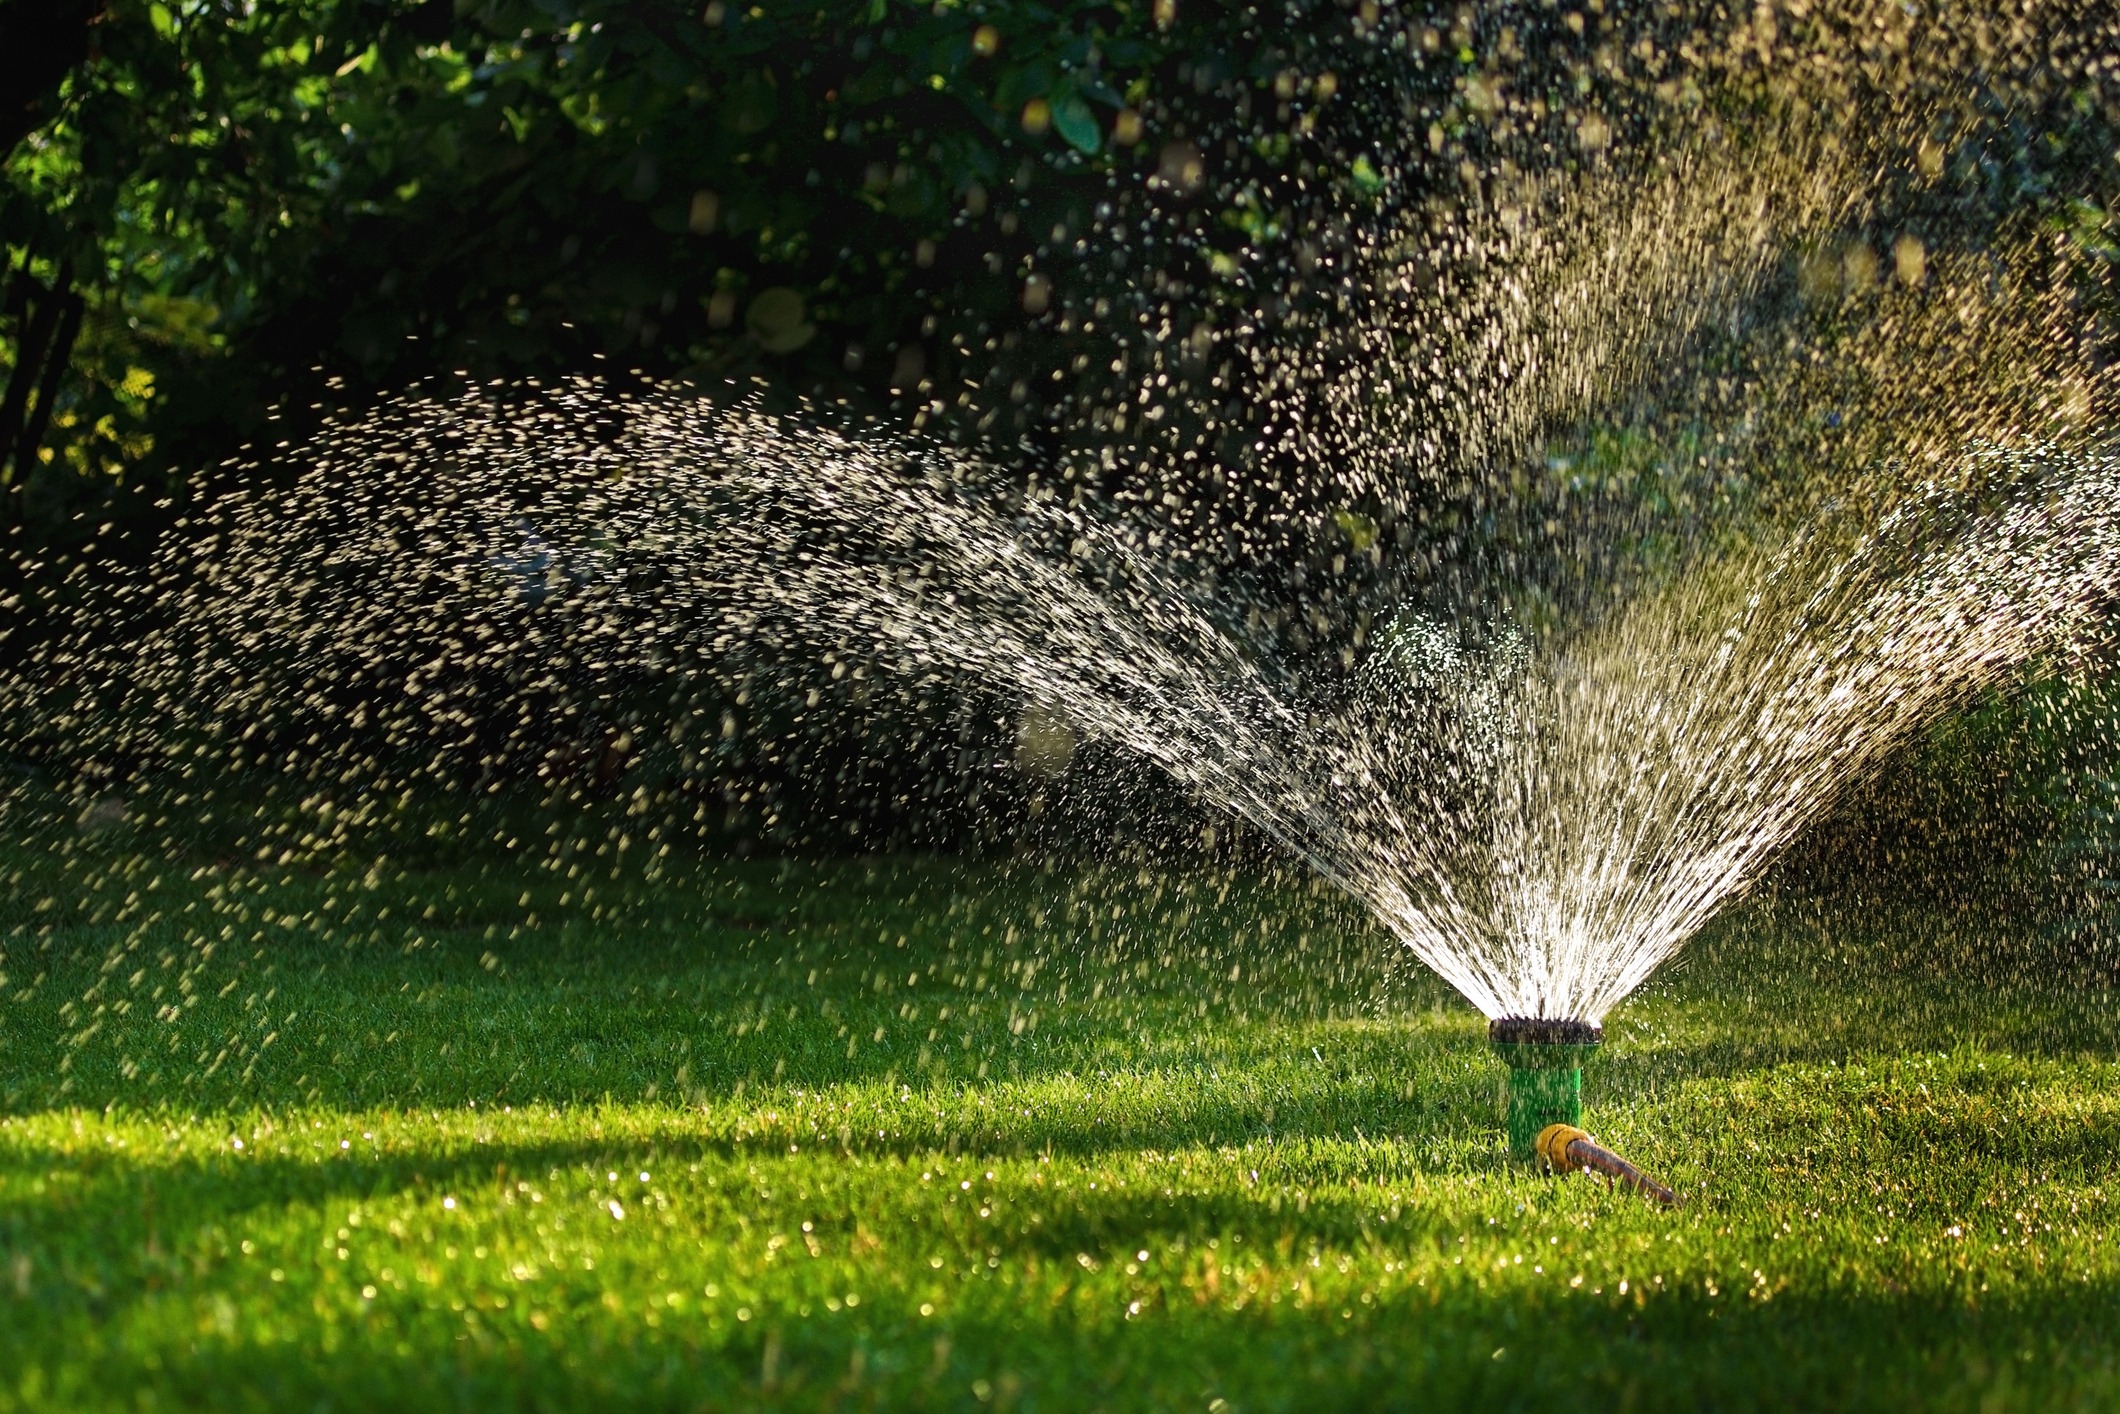
New sod needs water. But how much and how often? Too little can cause corners and edges to curl and die; too much invites fungus and mould. Toronto’s occasional rain doesn’t always suffice, especially in the heat of summer or drier weeks in early fall.
Homeowners often discover that sprinkling the lawn “when it looks dry” isn’t enough. Likewise, watering too frequently leads to swampy soil and root rot. Both extremes cost you—either in brown, brittle sod or in fungal patches that spread quickly.
Start with a structured schedule. During the first two weeks after laying sod:
- Days 1–3: Water 2–3 times per day, ensuring the topsoil and sod stay consistently moist. Pay extra attention to seams and corners where water can run off.
- Days 4–7: Gradually reduce to 1–2 times per day, watching for signs of dryness (curling edges) or excessive moisture (mushy footprints).
- Weeks 3–4: Shift to once daily or every other day, depending on rainfall and soil type. The key is maintaining damp but not waterlogged soil.
Once the sod has rooted—usually after about four weeks—water it more deeply but less often. For most established sod lawns in Toronto, aim for 1 inch of water 1–2 times per week, preferably in the early morning. This encourages deep root growth and greater drought tolerance.
Special Markham Tip: Markham occasionally enforces watering restrictions. Check local bylaws or schedule your irrigation before peak hours. If you have clay-heavy soil (common in parts of York Region), you may need shorter, more frequent watering sessions to avoid runoff.
Common Mistakes to Avoid
- Overwatering: Look for spongy soil, mushrooms, or pooled water. This can lead to fungal disease.
- Underwatering: Edges of sod can shrink or curl, leaving gaps or yellow spots.
- Watering at the Wrong Time: Midday watering wastes water through evaporation. Evenings can invite fungus if the grass stays wet overnight. Early morning is ideal.
Mowing New Sod: Getting the Perfect Cut
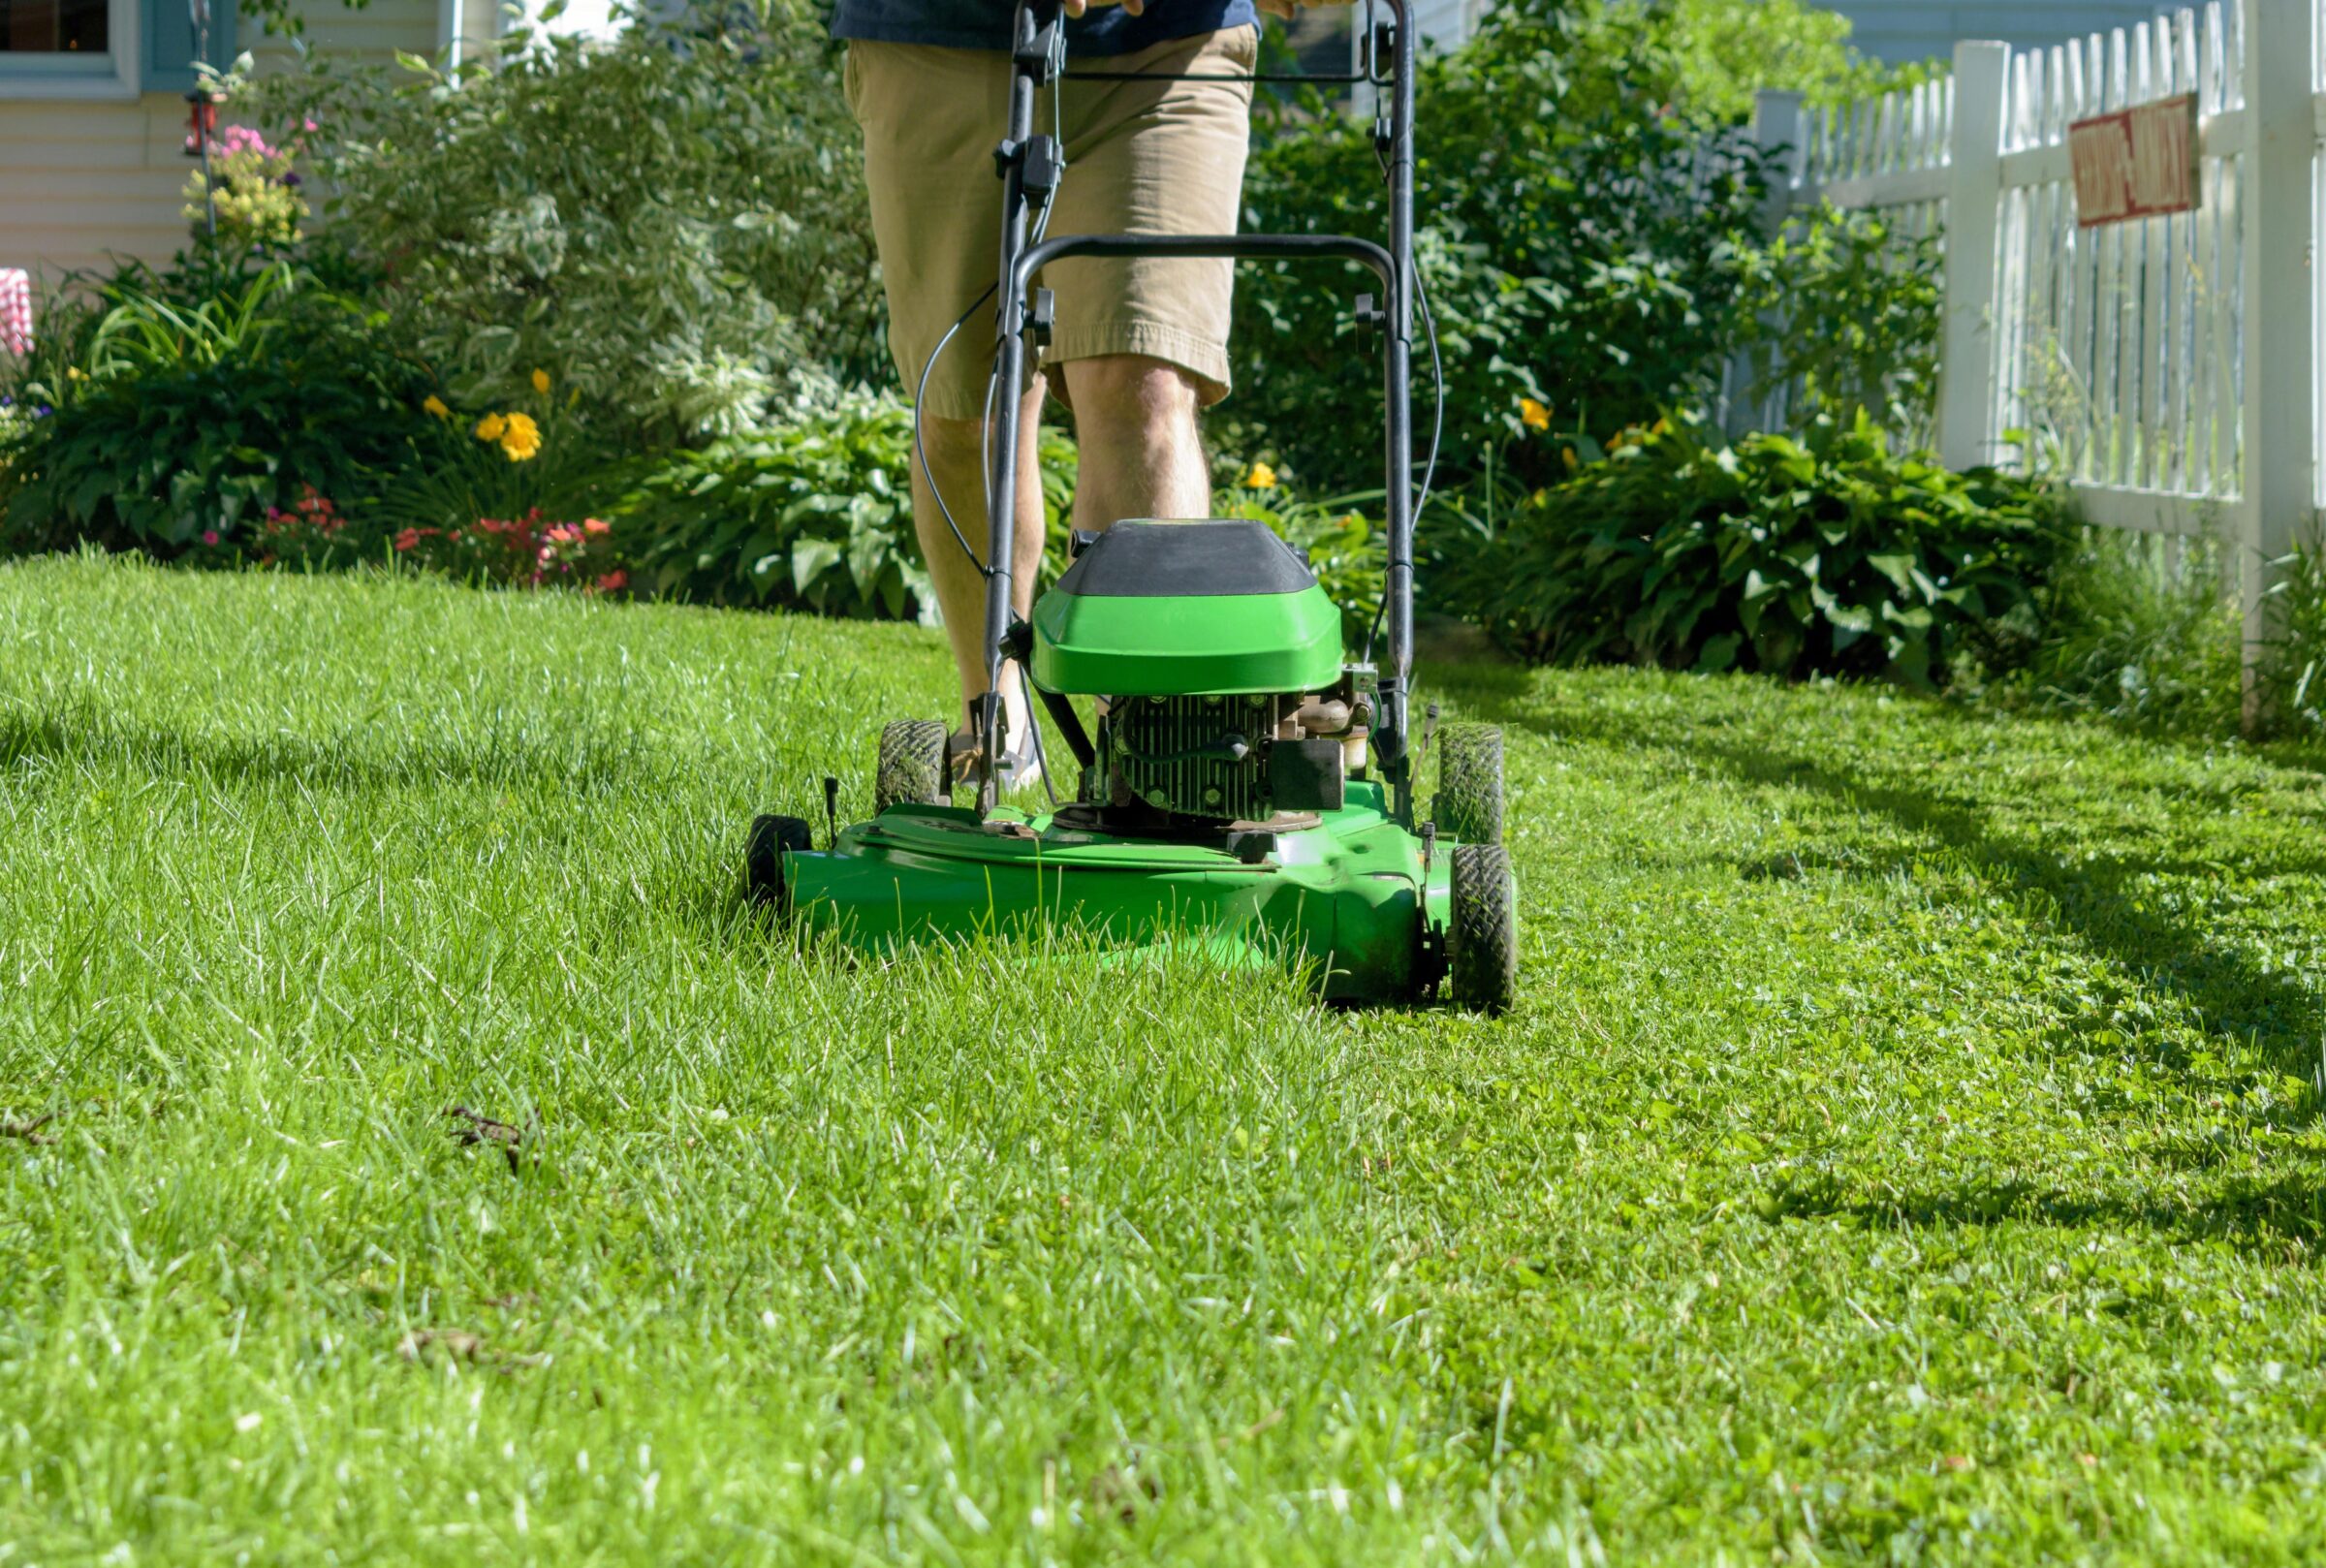
Your new sod has taken root, but you’re anxious about that critical first mow. Cut too soon, and you risk uprooting sections. Leave it too long; it can grow weak, inviting pests and disease.
It’s common to see homeowners mow prematurely and peel back strips of sod because the roots haven’t anchored. On the flip side, letting new sod get overly tall (like a mini-jungle) stresses the grass, which can lead to uneven colour and potential fungus in the thick thatch.
Timing is everything. Generally, wait about 14 days after installation (often the same timeframe as your intensive watering schedule). You’ll know the sod is ready when:
- Height: Grass blades reach about 4–6 inches tall.
- Root Check: Gently tug on a corner. If the sod resists and doesn’t lift easily, the roots have taken hold.
Best Practices for the First Mow
- Blade Height: Set your mower to about 3 inches for Kentucky Bluegrass or similar varieties. Never cut more than 1/3 of the blade’s length at once.
- Sharp Blades: Ensure mower blades are sharpened. Dull blades tear and stress young grass.
- Check Moisture: Mow when the grass is dry to prevent clumping and diseases.
- Frequency: Through spring and summer, mow at least once per week (depending on growth). You can reduce frequency in periods of slower growth (late fall or drought).
Seasonal Nuances for Toronto
- Spring: Grass may grow faster with spring rains. Be prepared to mow more frequently.
- Summer Heat: Raise your cutting height slightly to help shade the soil and retain moisture.
- Late Fall: A final, slightly shorter cut (~2 inches) can help prepare for winter, reducing the risk of snow mould.
Spring Sod Maintenance in the GTA
After a harsh winter, your sod might show signs of snow mould, bare spots, and general wear and tear. When spring arrives, you want to rejuvenate the lawn, but you may not be sure which tasks are essential or in what order to tackle them.
Ignoring spring tasks often leads to bigger headaches later. Thatch can build up, weeds take root in thin patches, and pest problems can linger unnoticed. If you skip key steps like light dethatching or fertilizing, you risk spending summer fighting off lawn problems instead of enjoying a lush yard.
Think of spring as your reset button. Here’s your step-by-step:
Assess Lawn Condition (Early Spring)
- Walk the lawn once snow melts (March/April). Look for snow mould (white-gray patches) and any winter debris.
- Gently rake matted areas to improve airflow, but avoid heavy raking on soggy ground to prevent damage.
Light Cleanup & Dethatching
- If thatch is over ½ inch, consider gentle dethatching. For small sod lawns, a manual rake on a dry day might suffice.
- Remove leaves or leftover debris. In Markham or Toronto neighborhoods with large trees, leaves can accumulate quickly; don’t let them smother the grass.
Aeration (If Needed)
- While fall is best for core aeration, a highly compacted lawn may benefit from a spring aeration. This helps roots access water and nutrients.
- If unsure, consult a lawn care pro or rent an aerator from a local hardware store.
Overseeding Thin Spots
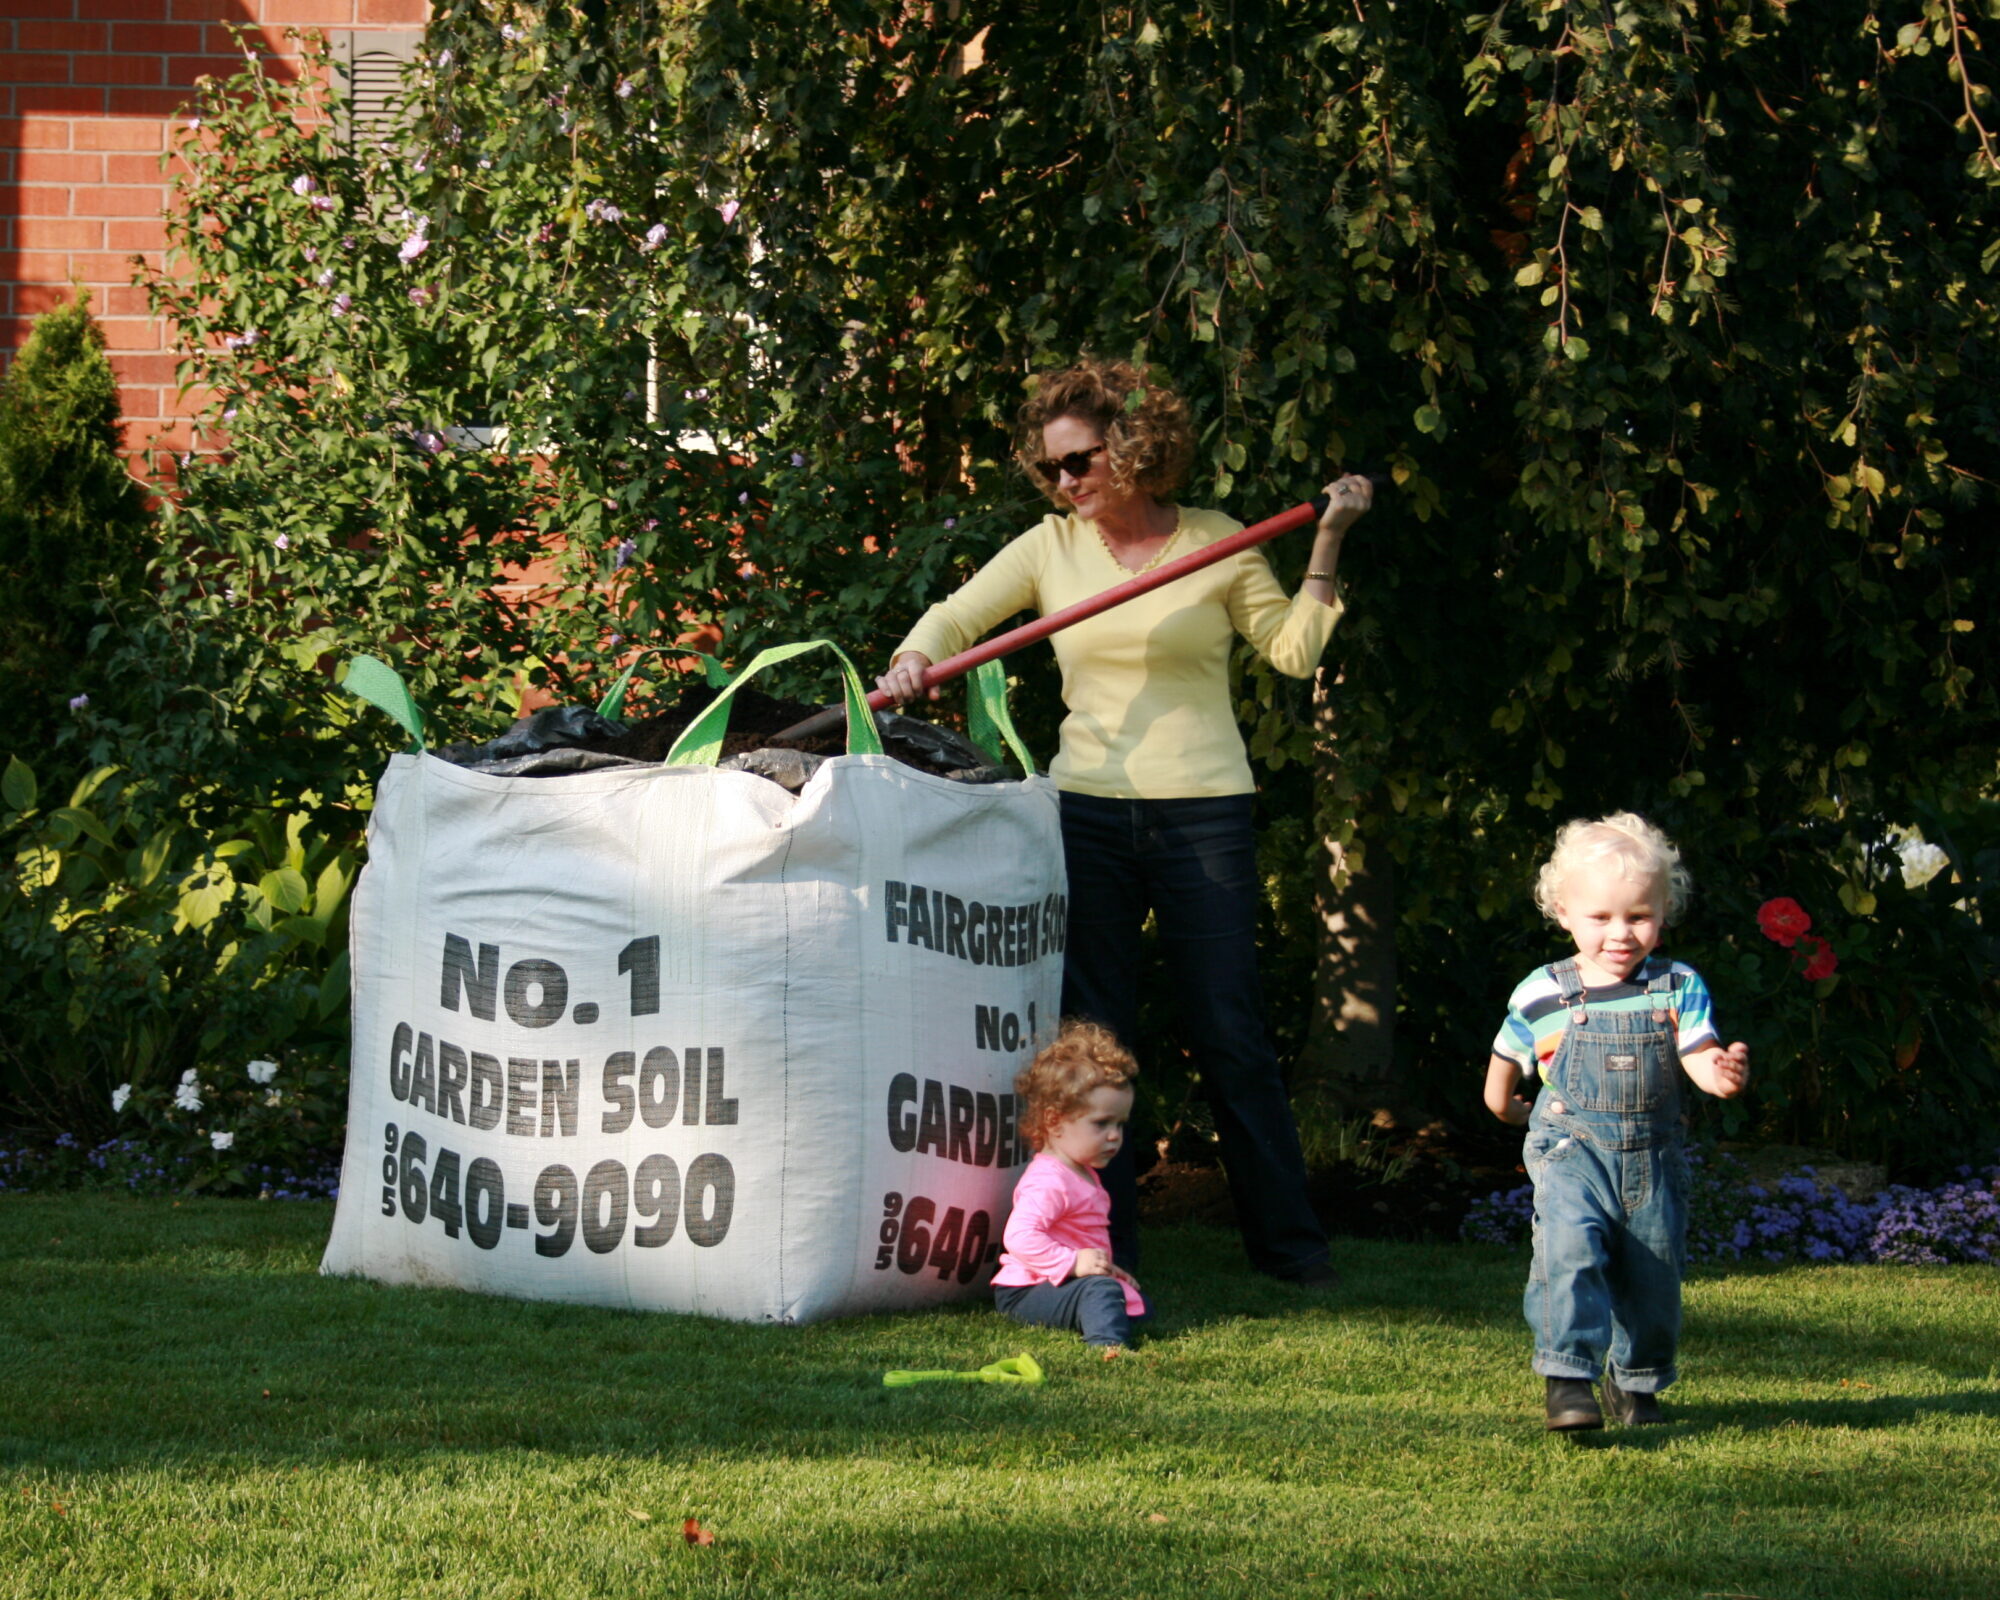
- If winter kill or wear-and-tear left bare patches, lightly rake the area, add matching grass seed (Fairgreen Sod Farms offers grass seed blends), and keep it moist.
- Overseeding in early spring helps the lawn outcompete weeds.
Spring Fertilization
- A high-nitrogen fertilizer (like a 25-0-5 or similar) in late April/May helps jumpstart growth.
- Water it in if rain isn’t expected. Don’t overapply—follow the label or consult Fairgreen’s Fertilizing Grass Guide.
First Mow of the Season
- Once the grass is around 3–4 inches tall and the ground is not too soft, mow at a higher setting (3 inches).
- This encourages strong, upright growth and helps identify sections needing extra care.
Summer Sod Care: Keeping Your Lawn Green in the Heat
Toronto summers can be unpredictable—heatwaves, high humidity, occasional drought. Lawns often develop brown patches from stress, pests, or shallow watering routines.
Nothing’s worse than stepping out to enjoy your yard on a hot day, only to find large, crispy sections of sod. With water restrictions sometimes in effect, many homeowners feel helpless. Worse, pests like chinch bugs flourish in heat-stressed lawns, quickly making an ugly situation worse.
Summer survival hinges on a few core practices:
Deep, Infrequent Watering
- Aim for 1 inch of water once or twice a week rather than daily light watering.
- Water in the early morning to reduce evaporation. Use a rain gauge or an empty tuna can to measure.
- In extreme heat, newly established sod or trouble spots may need a midweek top-up. But avoid waterlogging.
Raise Your Mower Height
- In mid-summer, set your mower blade around 3.5 inches. Taller grass shades soil, minimizing evaporation and discouraging weeds.
- Don’t mow during midday heat—this stresses the grass further.
Weed Management
- Maintain a thick, healthy lawn to crowd out weeds. Where weeds do pop up, remove them manually or spot treat (mindful of Ontario’s pesticide regulations).
- Good fertilizing and watering habits remain your best defense.
Watch for Pests
- Chinch bugs cause irregular brown patches in sunny areas. They suck sap from grass blades.
- Grubs feast on roots, leaving sod that peels up easily.
- If you notice these issues, see our Troubleshooting section.
Heat-Stress First Aid
- A light midday “syringe” spray can cool the grass without overwatering for severe heat waves.
- To improve water retention, consider topdressing in late summer with compost or quality soil (like Fairgreen’s topdressing mix).
Fall Sod Care (and Preparing for Winter)
Come autumn, many homeowners think lawn care is done until spring. But skipping fall tasks is a recipe for weak growth and winter damage. Frozen turf, ice buildup, and even road salt can wreak havoc on an unprepared lawn.
If you fail to winterize your lawn, you may face extensive spring repair. Snow mould thrives under piles of leaves, compaction can choke the roots, and subzero temperatures can cause further damage if the lawn isn’t fed properly before dormancy.
Fall is your lawn’s recovery and strengthening phase:
Fall Fertilization
- Apply an early fall fertilizer (September) to help your lawn rebound from summer stress.
- In October/early November, use a winterizer fertilizer higher in potassium (e.g., 10-0-20) to promote root strength.
Overseeding and Repair
- Early fall is ideal for overseeding thin or damaged areas. Warmer soil and cooler air let new seedlings establish well before winter.
- Keep those areas moist until the new grass takes hold.
Leaf Management
- Don’t let leaves pile up. They can smother grass and invite mould.
- Light leaf cover can be mulched with a mower, returning nutrients to the soil. Heavy leaf cover should be raked or blown away.
Aeration and Topdressing
- If you missed aeration in spring or if your soil is compacted, do it in early fall.
- Topdress with compost or a high-quality soil mix (available at Fairgreen Sod Farms) to improve soil structure.
Final Mow
- Lower your mower a notch (around 2 inches) for the last cut of the season. This reduces matting under snow.
- Remove lawn furniture, hoses, or toys to avoid dead spots in spring.
Winter Protection
- Use salt alternatives near sidewalks/driveways. Regular road salt can burn the lawn edges.
- Mark driveway edges if you expect snowplows to ensure they don’t scrape the sod.
- Minimize foot traffic on frozen or dormant grass.
Troubleshooting Common Sod Problems

Even the most dedicated homeowners in Toronto and the Greater Toronto Area (GTA) may encounter challenges in maintaining a lush and vibrant sod lawn. Recognizing and addressing these issues promptly is crucial for preserving the health and beauty of your turf. This comprehensive guide delves into the most frequent sod problems encountered and provides detailed solutions to help you restore your lawn to its optimal condition.
1. Overwatering vs. Underwatering
Maintaining the correct moisture level is paramount for healthy sod. Both overwatering and underwatering can lead to significant problems, often presenting with distinct symptoms.
Overwatering
When sod receives excessive water, the soil becomes saturated, depriving the roots of essential oxygen. This can lead to a weakened root system, making the turf susceptible to disease and pests.
- Symptoms: Look for areas of mushy turf that feel spongy underfoot. You might also notice shallow roots when attempting to lift a section of sod. The presence of mushrooms or algae growth on the soil surface is another telltale sign of consistently waterlogged conditions.
- Solution: Re-evaluate your watering schedule. Once your sod has established a strong root system (typically after the initial few weeks, as outlined in the “Watering Section”), aim for deep and infrequent watering. This encourages roots to grow deeper and become more resilient. Allow the top inch of soil to dry slightly to the touch before watering again. Consider using a soil moisture meter to gain a more accurate understanding of the soil’s hydration levels. Adjust your watering frequency based on weather conditions, reducing it during rainy periods. Ensure proper drainage in your lawn to prevent water from pooling.
Underwatering
Conversely, insufficient water prevents the sod from establishing properly and can lead to stress and eventual death.
- Symptoms: Observe the edges of the sod rolls; if they appear to be curling upwards, it’s a strong indication of dehydration. The soil will likely be visibly dry or even cracked. Additionally, if your footprints remain visible for an extended period after walking on the lawn, it suggests the grass blades lack the turgidity that comes with adequate hydration. The overall growth of the sod will also appear stunted.
- Solution: Adjust your watering schedule to provide sufficient moisture, especially during dry and hot periods. Newly laid sod requires more frequent watering than established turf. Ensure that water penetrates deeply into the soil to encourage root development. Pay particular attention to edges and sloped areas, which dry out faster. Water in the early morning to minimize evaporation and allow the grass blades to dry before nightfall, reducing the risk of fungal diseases.
2. Yellow or Brown Sod Patches
The appearance of yellow or brown patches can be alarming and often indicates an underlying issue that needs addressing.
New Sod Turning Yellow
Newly installed sod may undergo a period of adjustment, often referred to as transplant shock. This stress can manifest as a yellowing of the grass blades. Insufficient watering, particularly at the edges of the rolls, where drying occurs more rapidly, is another common cause. In some instances, yellowing in new sod can be an early sign of fungal issues, although this is less frequent.
- Solution: Ensure consistent and adequate watering, paying close attention to the perimeter of the newly laid sod. Avoid excessive foot traffic on the new sod to minimize stress. If the yellowing persists or worsens, consult with a local sod supplier or landscaping professional to rule out fungal diseases and receive appropriate treatment recommendations.
Brown Spots
Brown patches can arise from various factors affecting the health of established sod. Dryness due to insufficient watering is a frequent culprit. Pet urine damage creates concentrated areas of nitrogen and salts that can burn the grass. Heat stress, particularly during prolonged periods of high temperatures and direct sunlight, can also lead to brown and scorched areas.
- Solution: If dryness is suspected, increase your watering frequency and ensure deep saturation of the affected areas. For pet urine spots, the key is immediate action. Flush the affected area with plenty of water when your dog urinates. This helps to dilute the concentration of harmful substances. For existing brown spots caused by urine, you may need to remove the dead turf, amend the soil with fresh topsoil, and overseed or patch with new sod. Consider training your pet to urinate in a designated yard area, perhaps covered with mulch or gravel. If heat stress is the likely cause, ensure your lawn receives adequate hydration during hot weather and consider providing temporary shade during the hottest parts of the day.
3. Lawn Fungus or Mould
Fungal diseases can quickly mar the appearance of your lawn if left untreated.
- Symptoms: Lawn fungi often manifest as circular patches of discoloured or dying grass. You might observe a white or gray “webbing”-like growth, particularly in damp conditions. The individual grass blades may also appear discoloured, exhibiting shades of brown, red, or other unusual hues. Snow mould is a common fungal disease that occurs after snow melts in the spring. Red thread, another fungal disease, can develop in warm, humid conditions, characterized by reddish, thread-like strands on the grass blades.
- Solution: The first step in managing lawn fungus is to rake and remove any infected material to prevent further spread of the fungal spores. Ensure proper mowing practices (avoid cutting the grass too short) and maintain a balanced watering schedule to prevent excessive moisture retention on the leaf blades. Apply a fungicide if the infection is severe or persistent, always bearing in mind Ontario’s pesticide regulations and choosing products that are safe for your lawn and environment. Improving airflow across your lawn by pruning surrounding vegetation can also help to reduce humidity and discourage fungal growth. Correct fertilization is crucial in overall lawn health, helping the grass outgrow minor fungal infections. Avoid over-fertilizing with nitrogen, which can sometimes exacerbate certain fungal diseases.
4. Weed Invasion
Weeds compete with your sod for essential resources like water, nutrients, and sunlight, detracting from its overall health and appearance.
- Symptoms: The presence of unwanted plants such as dandelions, crabgrass, and other broadleaf weeds clearly indicates weed invasion. Different weed species have distinct appearances, making identification relatively straightforward.
- Solution: The most effective and environmentally friendly approach for isolated weeds is manual removal. Ensure you remove the entire root system to prevent regrowth. Maintaining a thick and healthy sod is the best defense against weed invasion, as dense turf leaves little space for weeds to establish. Achieve this by following proper watering, fertilization, and overseeding practices to fill in any thin or bare areas. If the weed infestation is more widespread, consider spot-treating individual weeds with a selective herbicide, ensuring the product is safe for your sod and following all local bylaws and regulations regarding pesticide use. Prevention is key—a healthy, vigorous lawn naturally resists most common weeds.
5. Insect Pests (Grubs & Chinch Bugs)
Certain insect pests can cause significant damage to your sod by feeding on the roots or the grass blades themselves.
Grubs
These are the white, C-shaped larvae of various beetle species. They live in the soil and feed on grass roots, disrupting the plant’s ability to absorb water and nutrients.
- Symptoms: Infestations can lead to sod that feels loose and can be easily lifted like a carpet. You may also notice increased animal activity (birds, skunks) digging in your lawn to feed on the grubs. Irregular brown patches may also appear.
- Solution: An organic approach to grub control involves the application of beneficial nematodes to the soil. These microscopic organisms parasitize grub larvae, effectively reducing their population. The optimal time for nematode application is typically late summer. For severe infestations, consult with a professional for appropriate insecticidal treatments. Maintaining a healthy lawn through proper watering and fertilization can also help the grass tolerate some grub feeding.
Chinch Bugs
These are tiny black-and-white insects that are particularly active in sunny areas of the lawn. They feed by sucking sap from grass blades.
- Symptoms: Chinch bug damage often appears as patchy dead spots in sunny areas of the lawn. These spots may initially appear yellow and then turn brown. Close inspection of the affected areas may reveal the small, mobile insects at the base of the grass blades.
- Solution: Maintaining proper soil moisture can help to deter chinch bug infestations. If you suspect a significant infestation, consult with a professional for recommendations on insecticidal soaps or other appropriate treatments.
6. Pet Urine Spots
Pet urine can leave unsightly and persistent damage to your lawn.
- Symptoms: Dog urine typically results in small, round patches of yellow or brown grass, often surrounded by a darker green border where the diluted nitrogen acts as a fertilizer.
- Solution: The most effective way to minimize urine damage is to dilute fresh urine by watering the area immediately after your dog urinates. For existing spots, you may need to remove the dead turf, add fresh topsoil to neutralize the soil, and then overseed or patch with new sod.
Keeping Your Toronto Lawn Lush Year-Round
Homeowners often assume that after the initial installation, sod simply “takes care of itself.” Unfortunately, that mindset leads to common pitfalls—from inconsistent watering to ignoring seasonal tasks—costing both time and money in the long run.
If you overlook crucial maintenance steps, you risk brown patches, weed invasions, or worse—spending next spring (and possibly every spring) scrambling to fix avoidable problems. A patchy, unhealthy lawn isn’t just an eyesore; it can reduce property value and cause frustration year after year.
By following the best practices outlined in this Ultimate Sod Care Handbook, you’re giving your lawn the year-round attention it deserves. From precise watering during those critical first weeks to raising your mower deck in the summer heat, each step ensures a lush, resilient turf that stands up to Toronto’s seasonal extremes. Proactive care ultimately saves you time, money, and stress—while giving you the vibrant outdoor space you envisioned.
Your Next Steps
Check Out Additional Fairgreen Resources:
Need Expert Advice or Quality Supplies?
- Visit Fairgreen Sod Farms for premium sod, topdressing soil, fertilizers, and more.
- Reach out to our team if you have any questions. We’re here to help homeowners in Toronto, Markham, and across the GTA achieve the lush lawn of their dreams.